๐จ๏ธ Donโt let clogged nozzles hold you backโprint like a pro again!
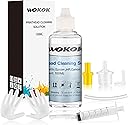
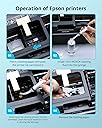
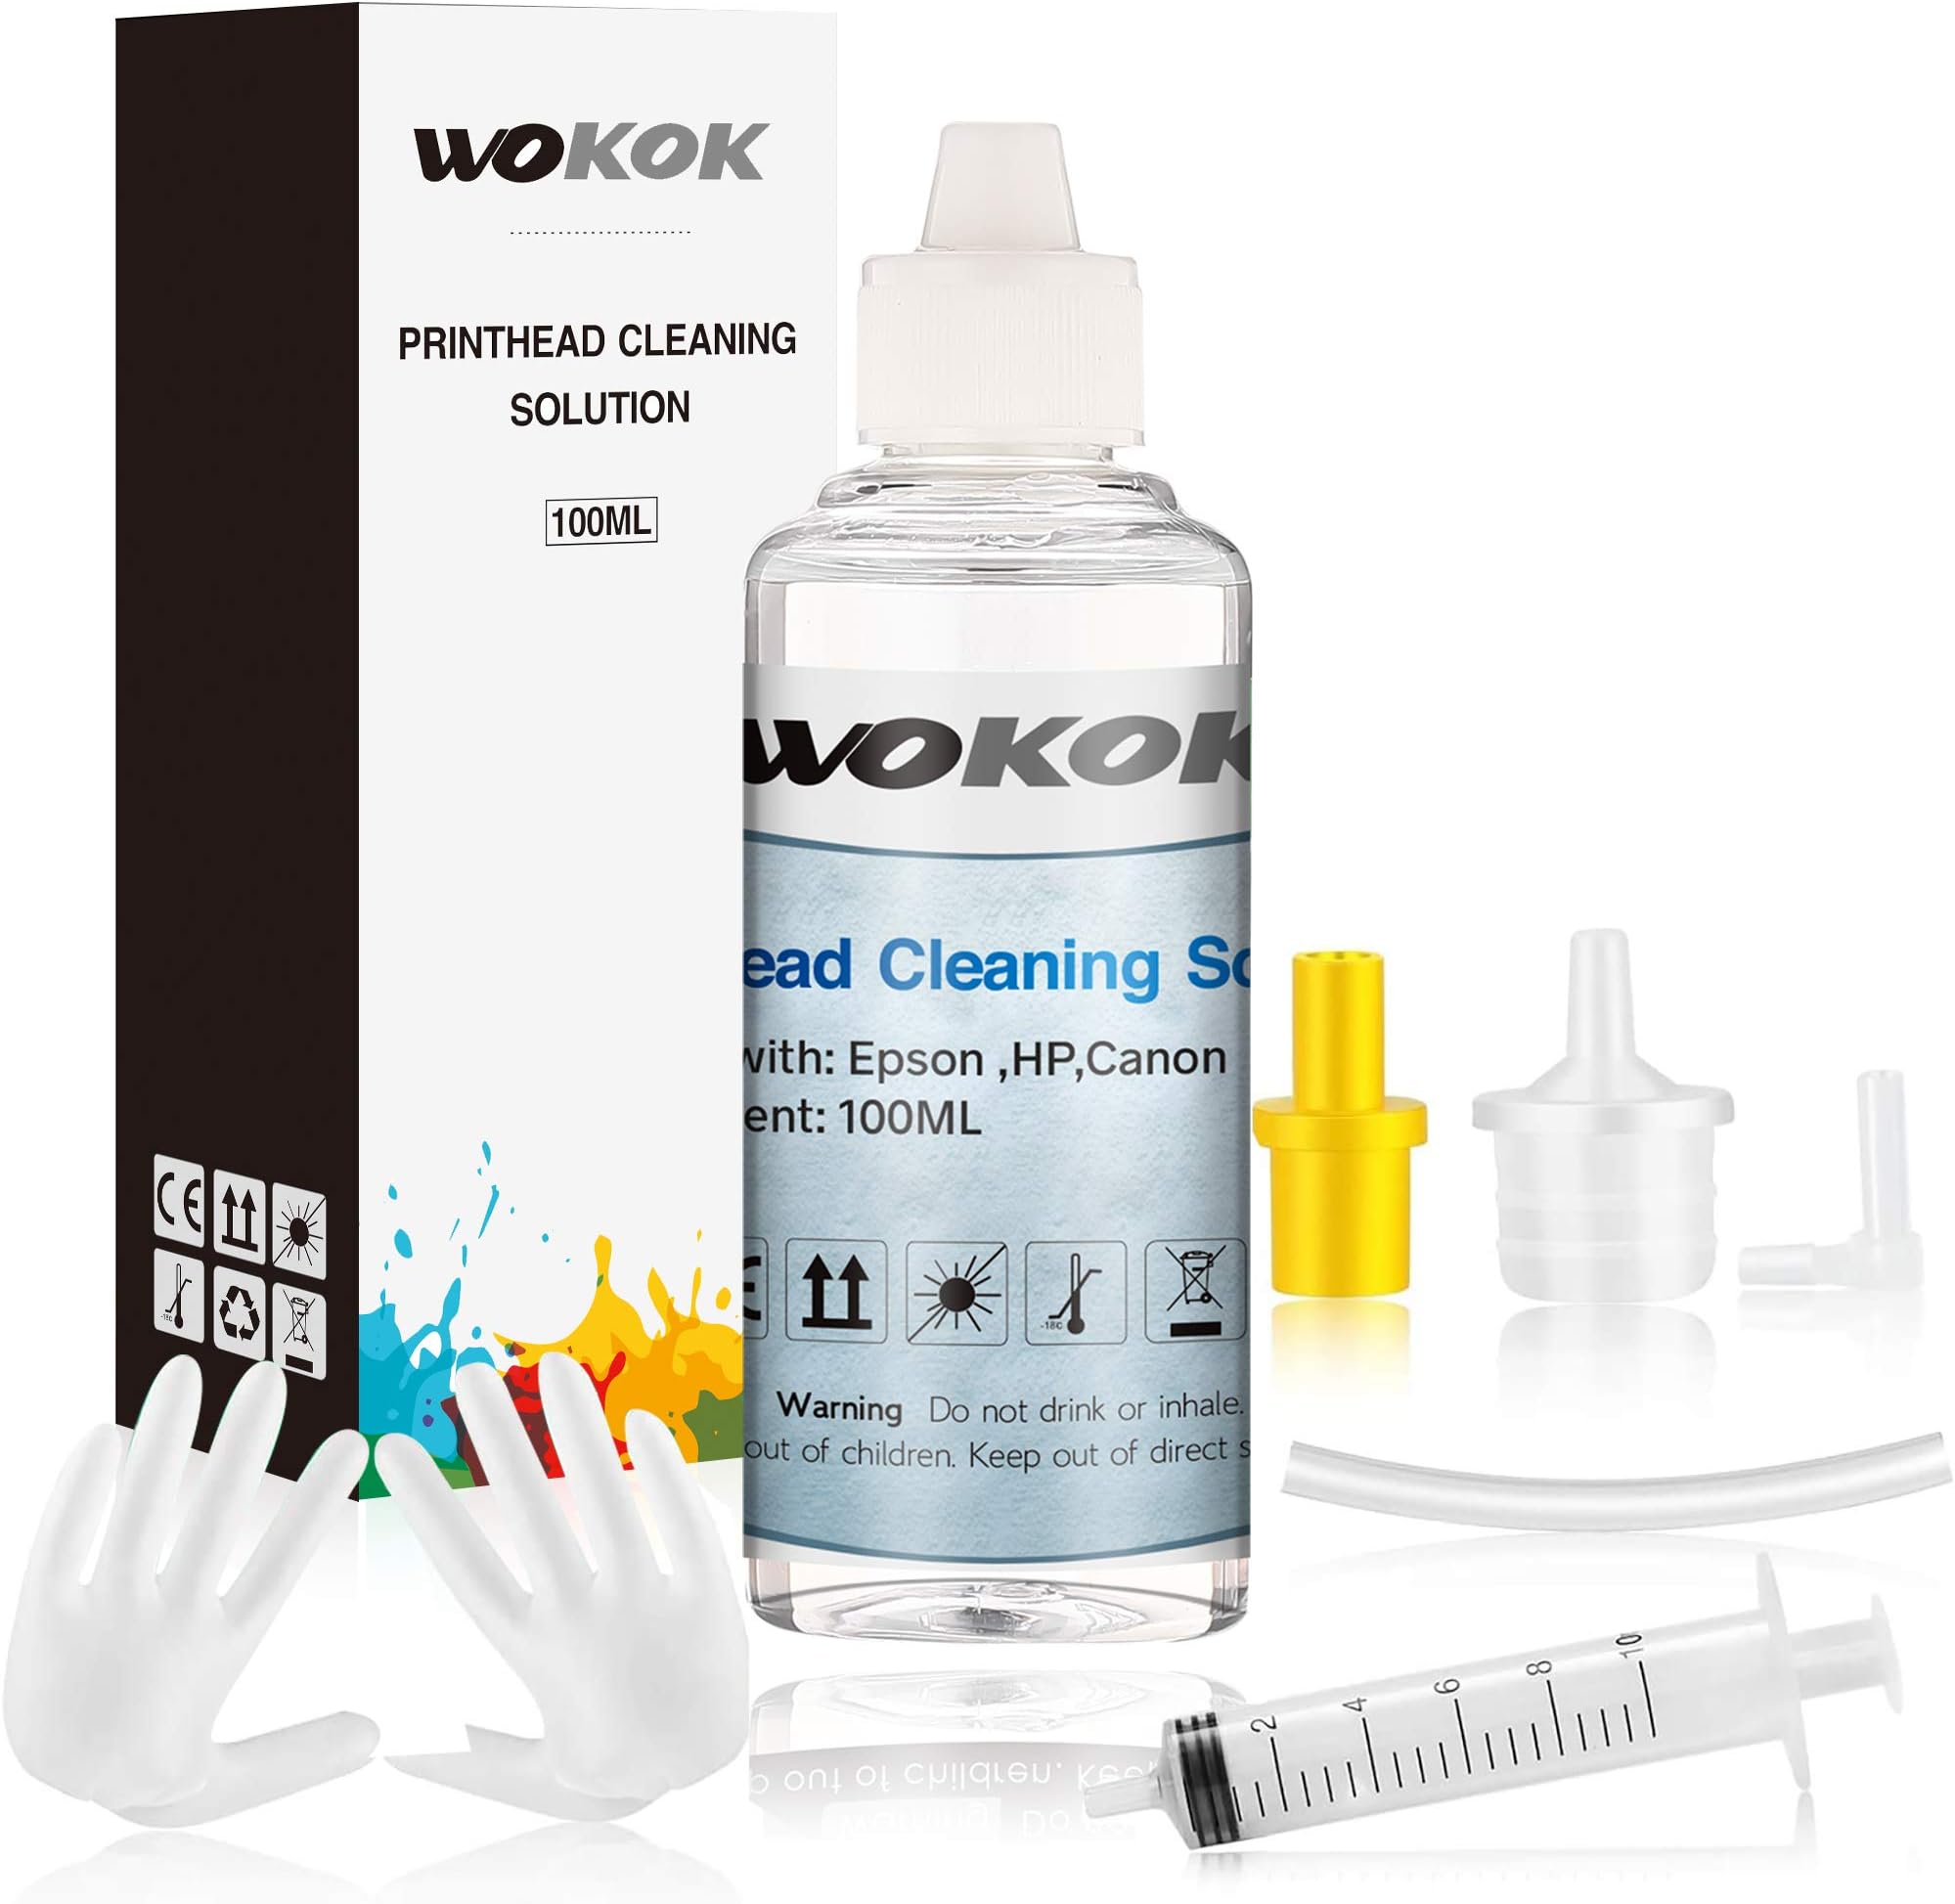
This 100ml Printer Cleaning Kit features an enzyme-based formula designed to dissolve dried ink and unclog printheads across major inkjet brands including HP, Brother, Epson, and Canon. It comes with all necessary toolsโsyringe, silicone hoses, glovesโand detailed instructions, ensuring safe, effective cleaning that extends your printerโs lifespan and restores high-quality printing performance.


| ASIN | B08GFSTYR9 |
| Additional Printer Functions | Print Only |
| Best Sellers Rank | #253,626 in Office Products ( See Top 100 in Office Products ) #8,062 in Inkjet Printer Ink Cartridges |
| Brand | WOKOK |
| Built-In Media | 1 ร 3.4 oz Print head Cleaning Fluid, 1 ร Syringe(10 ML), 1 ร Silicone Tube, 1 ร Instruction Manual, 2 ร Gloves |
| Cartridge Type | Compatible |
| Color | 1-PACK |
| Compatibility Options | Compatible |
| Compatible Devices | Printer |
| Compatible Printer Models | Epson Artisan 1400, Epson Artisan 1430, Epson Artisan P400, Epson Artisan P600, Epson Artisan R2000, Epson EcoTank ET-2550, Epson EcoTank ET-2650, Epson EcoTank ET-2750, Epson EcoTank ET-3700, Epson EcoTank ET-3750, Epson EcoTank ET-4450, Epson EcoTank ET-4750, Epson Expression Home XP-200, Epson Expression Home XP-310, Epson Expression Home XP-330, Epson Expression Home XP-340, Epson Expression Hโฆ |
| Customer Reviews | 4.0 out of 5 stars 1,967 Reviews |
| Ink Base | Water |
| Ink Color | White |
| Ink Colour | White |
| Manufacturer | WOKOK |
| Mfr Part Number | CLEAN86-0L0V3900 |
| Model Name | printhead cleaning kit |
| Model Number | 8610 |
| Model Series | Printer Cleaning Kit |
| Number of Items | 1 |
| Other Special Features of the Product | Wide Range of Compatibility |
| Page Yield | 1 |
| Printer Model Compatibility | Canon PIXMA MG5420, Canon PIXMA MG5520, Canon PIXMA MG5720, Canon PIXMA MG5721, Canon PIXMA MG5722, Canon PIXMA MG6320, Canon PIXMA MG6820, Canon PIXMA MG6821, Canon PIXMA MG6822, Canon PIXMA MG7120, Canon PIXMA MG7520, Canon PIXMA MG7720, Canon PIXMA MX922, Canon PIXMA TR8520, Canon PIXMA TS6120, Canon PIXMA TS6220, Canon PIXMA TS6320, Canon PIXMA TS8020, Canon PIXMA TS8120, Canon PIXMA TS8220, Cโฆ |
| Printer Type | inkjet |
| Special Feature | Wide Range of Compatibility |
| Specific Uses For Product | Printer ink flow issues, clogged printheads |
| Unit Count | 3.38 Fluid Ounces |
D**L
This works.
This worked well and restored my Epson WF-2960 printer. I used regular kitchen towels cut to size to fit under the printer heads rather than the one supplied. I had to go through the procedure 3 times, each time leaving it for more than an hour before running the print head cleaning utility. After the 3rd cycle, the test came good and I ran a power cleaning cycle. It was fixed! I cleaned all the print heads at the same time.
E**.
You Can Do It!
It worked great on my Brother Inkvestment printer - which I don't think was listed as compatible. BE PATIENT and STAY THE COURSE! It's worth it to fix your broken, clogged-inkheads-printer! It took me a long time to even work up the nerve and find the time to try this, but I finally did. FIRST, I READ THE INSTRUCTIONS ALL THE WAY THROUGH - that's so important! Then I watched several youtube videos, trying to find a printer that looked kind of close to mine. On my first attempt, I was certain I had broken my printer in five ways - but as it turned out I didn't. I had to repeat the process somewhere between 12 and 15 times. Little by little my printheads became unclogged after sitting for 18 months unusable. I read several other reviews before settling on this product. Some of the reviews have good advice and clear guidance for fixing your printer. Here are some of those tips I found most helpful: 1) Buy blotter paper to absorb the solution under the printhead. For my printer, I cut the blotter paper into thirds and wrapped a half-sheet of paper towel around it. TOTALLY NECESSARY. 2) Put a towel under the printer. For me, this turned out to be an unnecessary step, but having the towel down relieved some of my stress - I didn't want a bunch of inky solution running all over my floor. That never happened, but that towel was nice insurance - gave me security. 3) Go SLOWWWWW! Don't overfill your printheads. Heat the cleaning juice by placing your filled syringe in a cup of hot water. Then, when you inject the cleaning solution, let it sit in there for an hour at least. Go do something else for a while. I did that over the course of two days. Boy, was it rewarding to be able to print perfectly in color after those two days. 4) DON'T LEAVE THE CLEANING JUICE IN THE PRINTHEADS OVERNIGHT!!! By design, this stuff slowly leaks out and is absorbed by the papertowel and blotter paper. Don't let it sit too long. I think I left it sit once for 2.5 hours - there was a lot of juice! If I had left it longer, I may have had a mess. 5) Set up good lighting - I had a clamping lamp shooting straight at my ink nozzles so I could see clearly as I tried to fit the syringe attachment into the nozzle - NOT EASY! I also wore my husband's strong reader glasses to help me have the clearest possible vision and a little magnification. All in all, I say GO FOR IT! It's a fair pain in the butt to resuscitate your printer, but totally worth it - and this is the right product!
D**Z
Mostly worked, not all the black was unclogged
Okay, this is one of the better print head cleaning kits for my Epson WF-7710 thus far. It comes with everything one might need, even gloves (I used my own nitryl gloves by default). My only complaint was the difficulty attaching the small hose to the syringe and bottle nipple. Once attached, however, it stays firmly and without leaking. Ran about 20 cc of the solution through the clogged black printhead, the last 5 cc or so coming out clear on the paper towel used as an absorbent pad. My perfectionist eye still noticed the slight line where the printhead failed to apply the black ink. Allowed the printer to try and resolve, but the line remains. The solvent should have cleared this but did not for whatever reason. Other printheads cleared with just 5 cc of the solvent, though the yellow still required one more run of the printer's printhead cleaning routine to finally clear 100%. The other two cleared first try with about 5 cc each. Applied to my Epson WF-7710 with standard ink and badly clogged heads due to disuse. Ink used is a third party brand I have had good luck with (different review), not made or recommended by Epson. Recommended for all but badly clogged printheads (mine likely a worst case of this without ruining the printhead itself). Four stars for a good product that is complete and able to clear most of the printhead. I imagine if I used more of the black ink in the first place that particular hole wouldn't have clogged so badly.
D**Z
messy did nothing for my printer
dindn't work
H**Y
Started out with low expectations- pleasantly surprised!!
Honestly I was skeptical. It wasnโt looking good for my 15 year old Brother MFC J6910DW. After several years of limited use 3 out of 4 colors were barely printing and the black was 50%. Ran multiple cleaning procedures with barely any improvement, so decided to try this on a whim after watching various YouTube videos, without much expectation. Holy cow!! After one cleaning with this kit itโs pretty much back to 100%.
G**Y
It did not work
It did not fix my printer had to buy another printer.
M**S
Saves money in the long run
After cleaning the heads of my printer, the proper way, I have had better performance in the printing. I have a very old Brother MCF-j435w but it has stood the rest of time and will keep going for a long time coming. It is a good thing to know how to and when to clean your printers. Jeep this on hand.
J**.
Worked on Brother printer
From what I know, dont worry about the brand, this works on any printer where the ink is stored in one location of the printer, and moves through hoses to get to where it is put onto the paper. On my printer the ink is stored in the front right. Essentially all I did was take the syringe and little hose (threw away all of the extra pieces that didnt apply to me) filled the syringe with fluid, keep air bubbles out, take ink out, use needle nose pliers to push the other end of the little hose onto the port where the ink goes is (near the bottom of the ink for me). Now uptop open your printer to see its innards and jam paper onto the sensor switch to tell the printer oh yea this lid is closed, then begin a head cleaning, this causes the moving part to unbuckle and move about the cabin, then oncw it does BAM you unplug the printer. use your hands to gently slide the moving part into the middle and put a strip of paper towel under it, fluid will come out here from that syringe, youll wana use the gloves. Gently push fluid into the system, you dont want pressure, and letting the fluid sit and work is a good idea. How long? idk long enough to play teenage mutant ninja turtles arcade game until you beat the level with all of the fire. I probably waited 10 minutes. do not push hard. Now You may want to do all of the colors while youre at it, unless this is stressing you out, in which case just go for good enough to work. When done, remove the paper towel, plug the printer in, run a head cleaning and repeat. You should see NO air in the little hoses going to the moving peice (carriage) if so, flush more to remove all air. Now you can print that thing you needed to print months ago!
Trustpilot
2 weeks ago
2 weeks ago