Description
🕹️ Shield your Switch, level up your game!
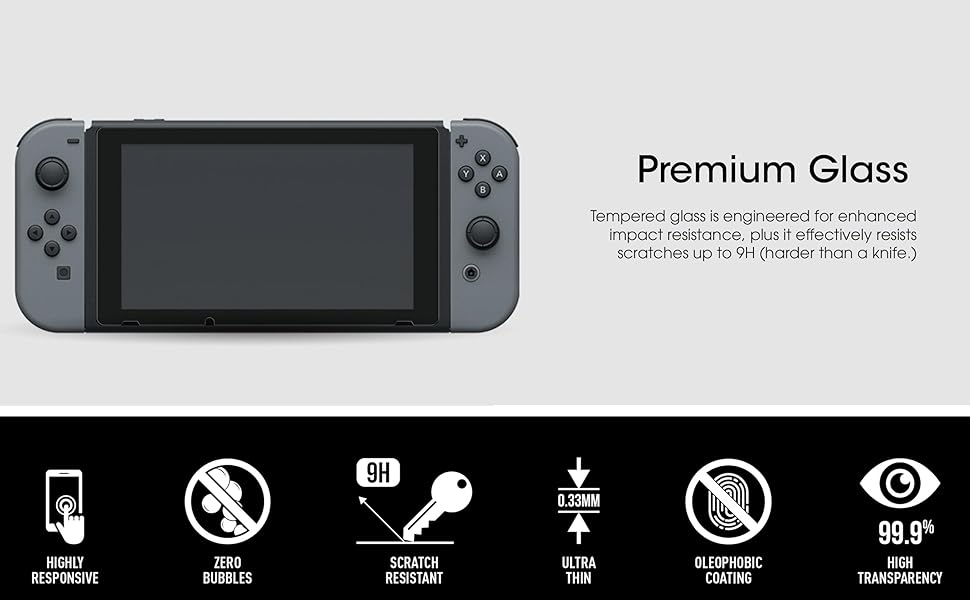
- BULLETPROOF DEFENSE - 9H hardness shields your screen from scratches and daily wear, keeping your device flawless and envy-worthy.
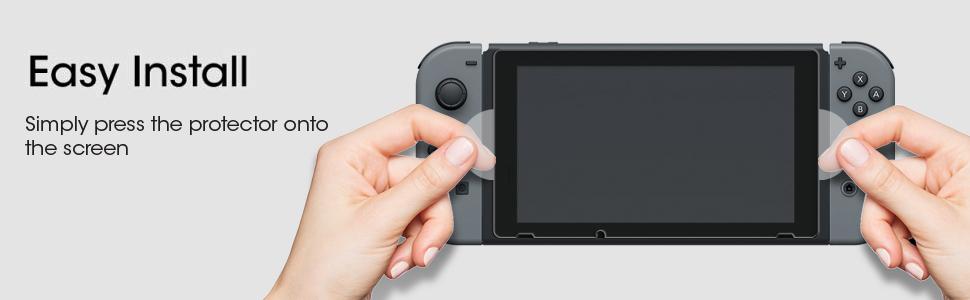
- READY TO INSTALL KIT - Includes 2 protectors, cleaning cloth, wipes, and easy-install guide—because your Switch deserves the best, hassle-free.
- FINGERPRINT FREE ZONE - Oleophobic coating repels smudges and fingerprints, so your screen stays spotless and swipe-ready.
- CRYSTAL CLEAR GAMEPLAY - Experience your Nintendo Switch screen in pristine 99.9% HD clarity—no detail missed, no colors dulled.
- FEATHERLIGHT PROTECTION - Ultra-thin 0.3mm design preserves touchscreen sensitivity for seamless, responsive gaming.
The amFilm Tempered Glass Screen Protector (2-Pack) is precision-engineered for the Nintendo Switch 2017 6.2" model, offering ultra-clear 99.9% HD transparency and a robust 9H hardness rating to protect against scratches and fingerprints. At just 0.3mm thin, it maintains full touchscreen sensitivity while providing durable, oleophobic-coated protection. The package includes two protectors plus all installation essentials, ensuring effortless application and long-lasting defense.