


✨ Breathe New Life into Your Leather! ✨
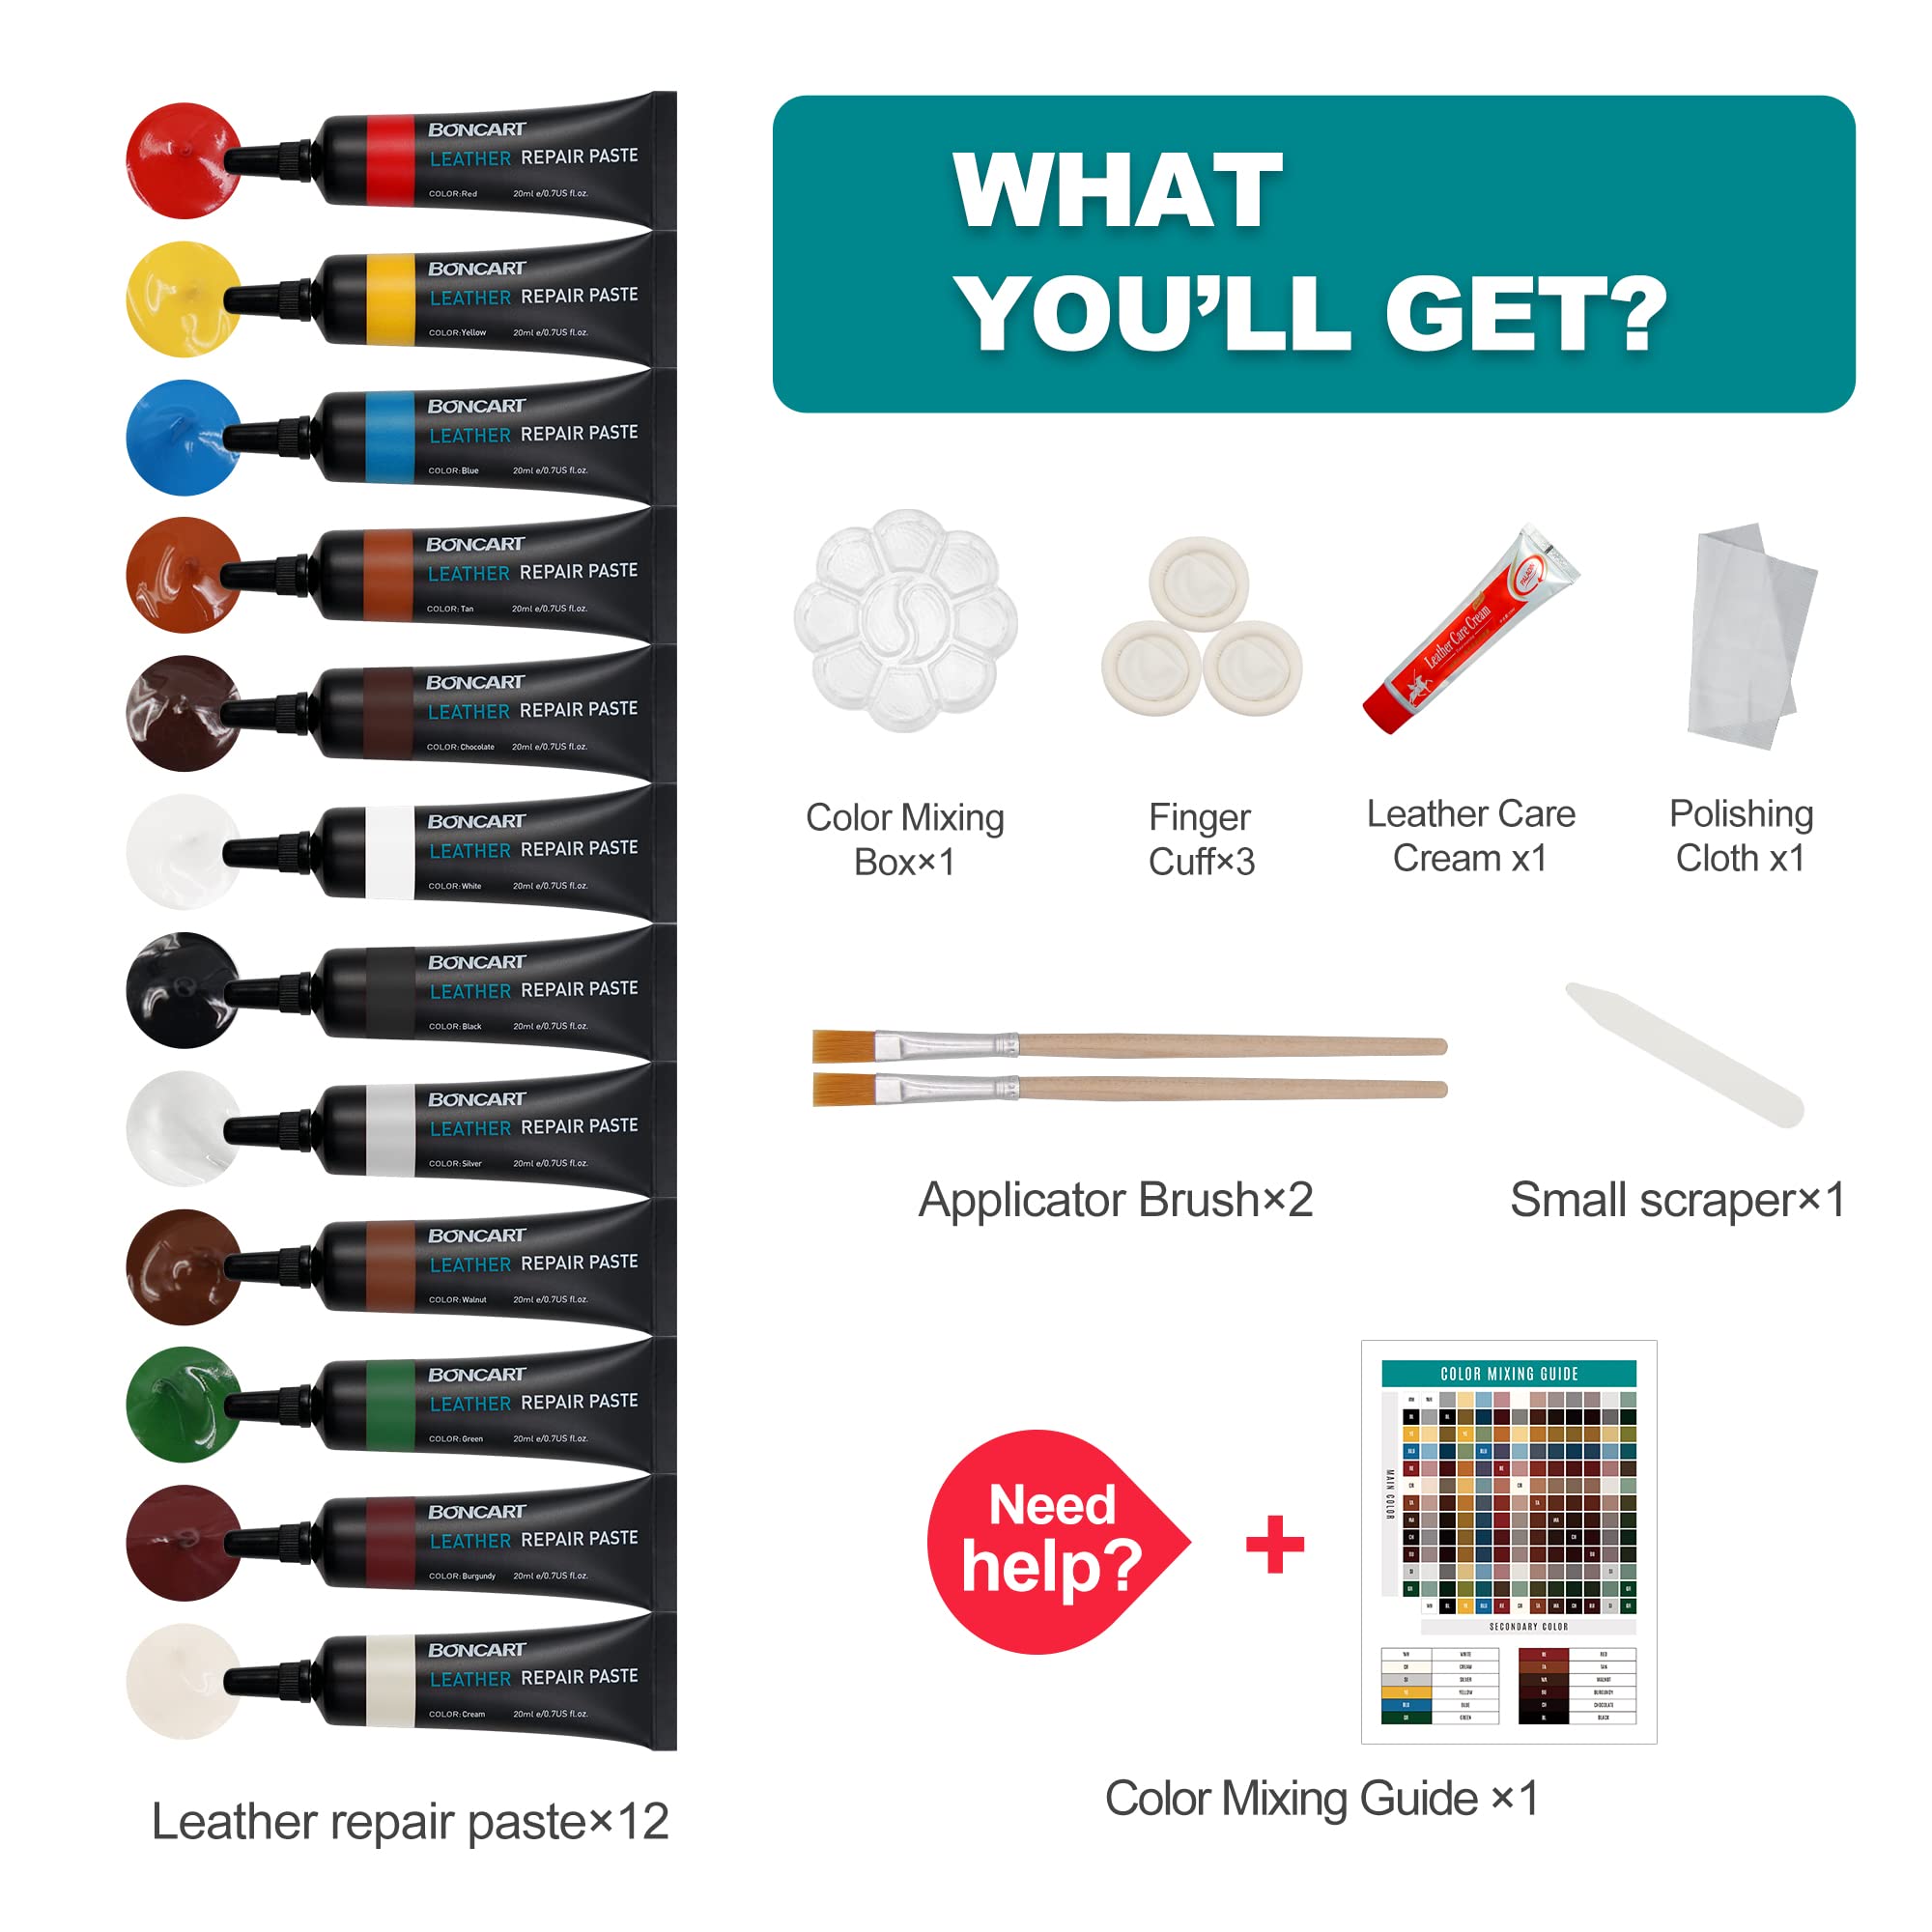
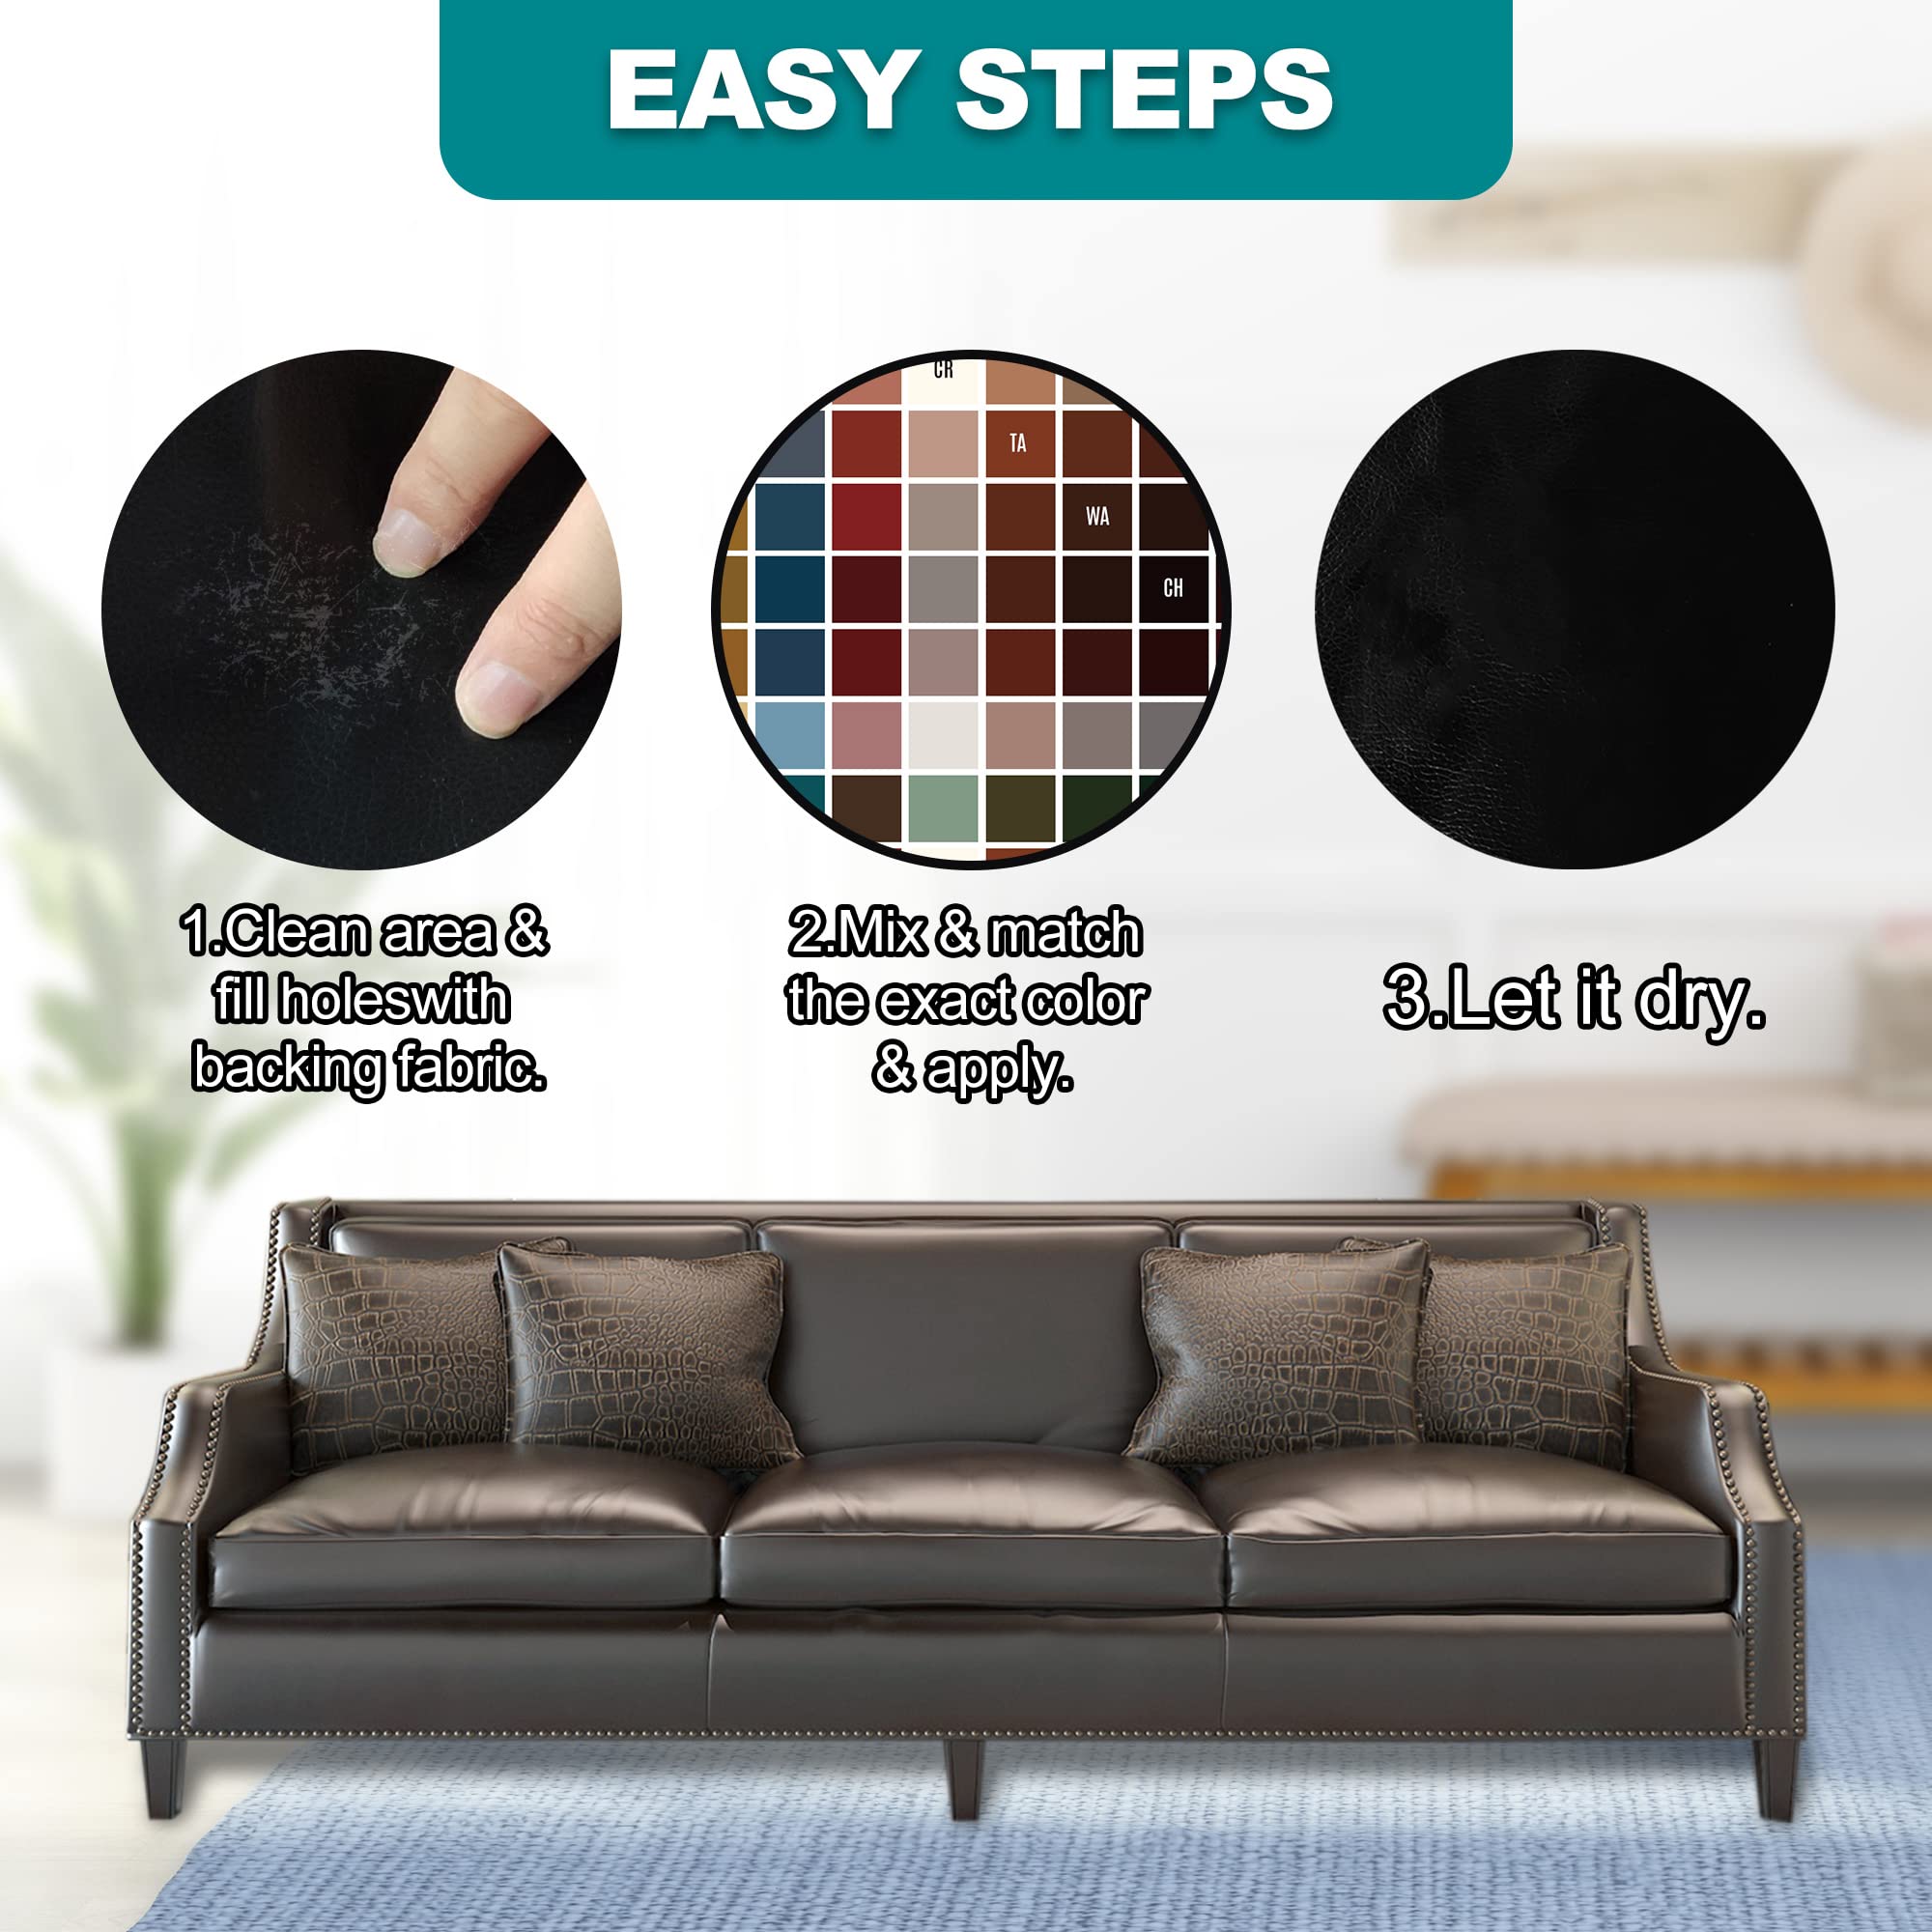
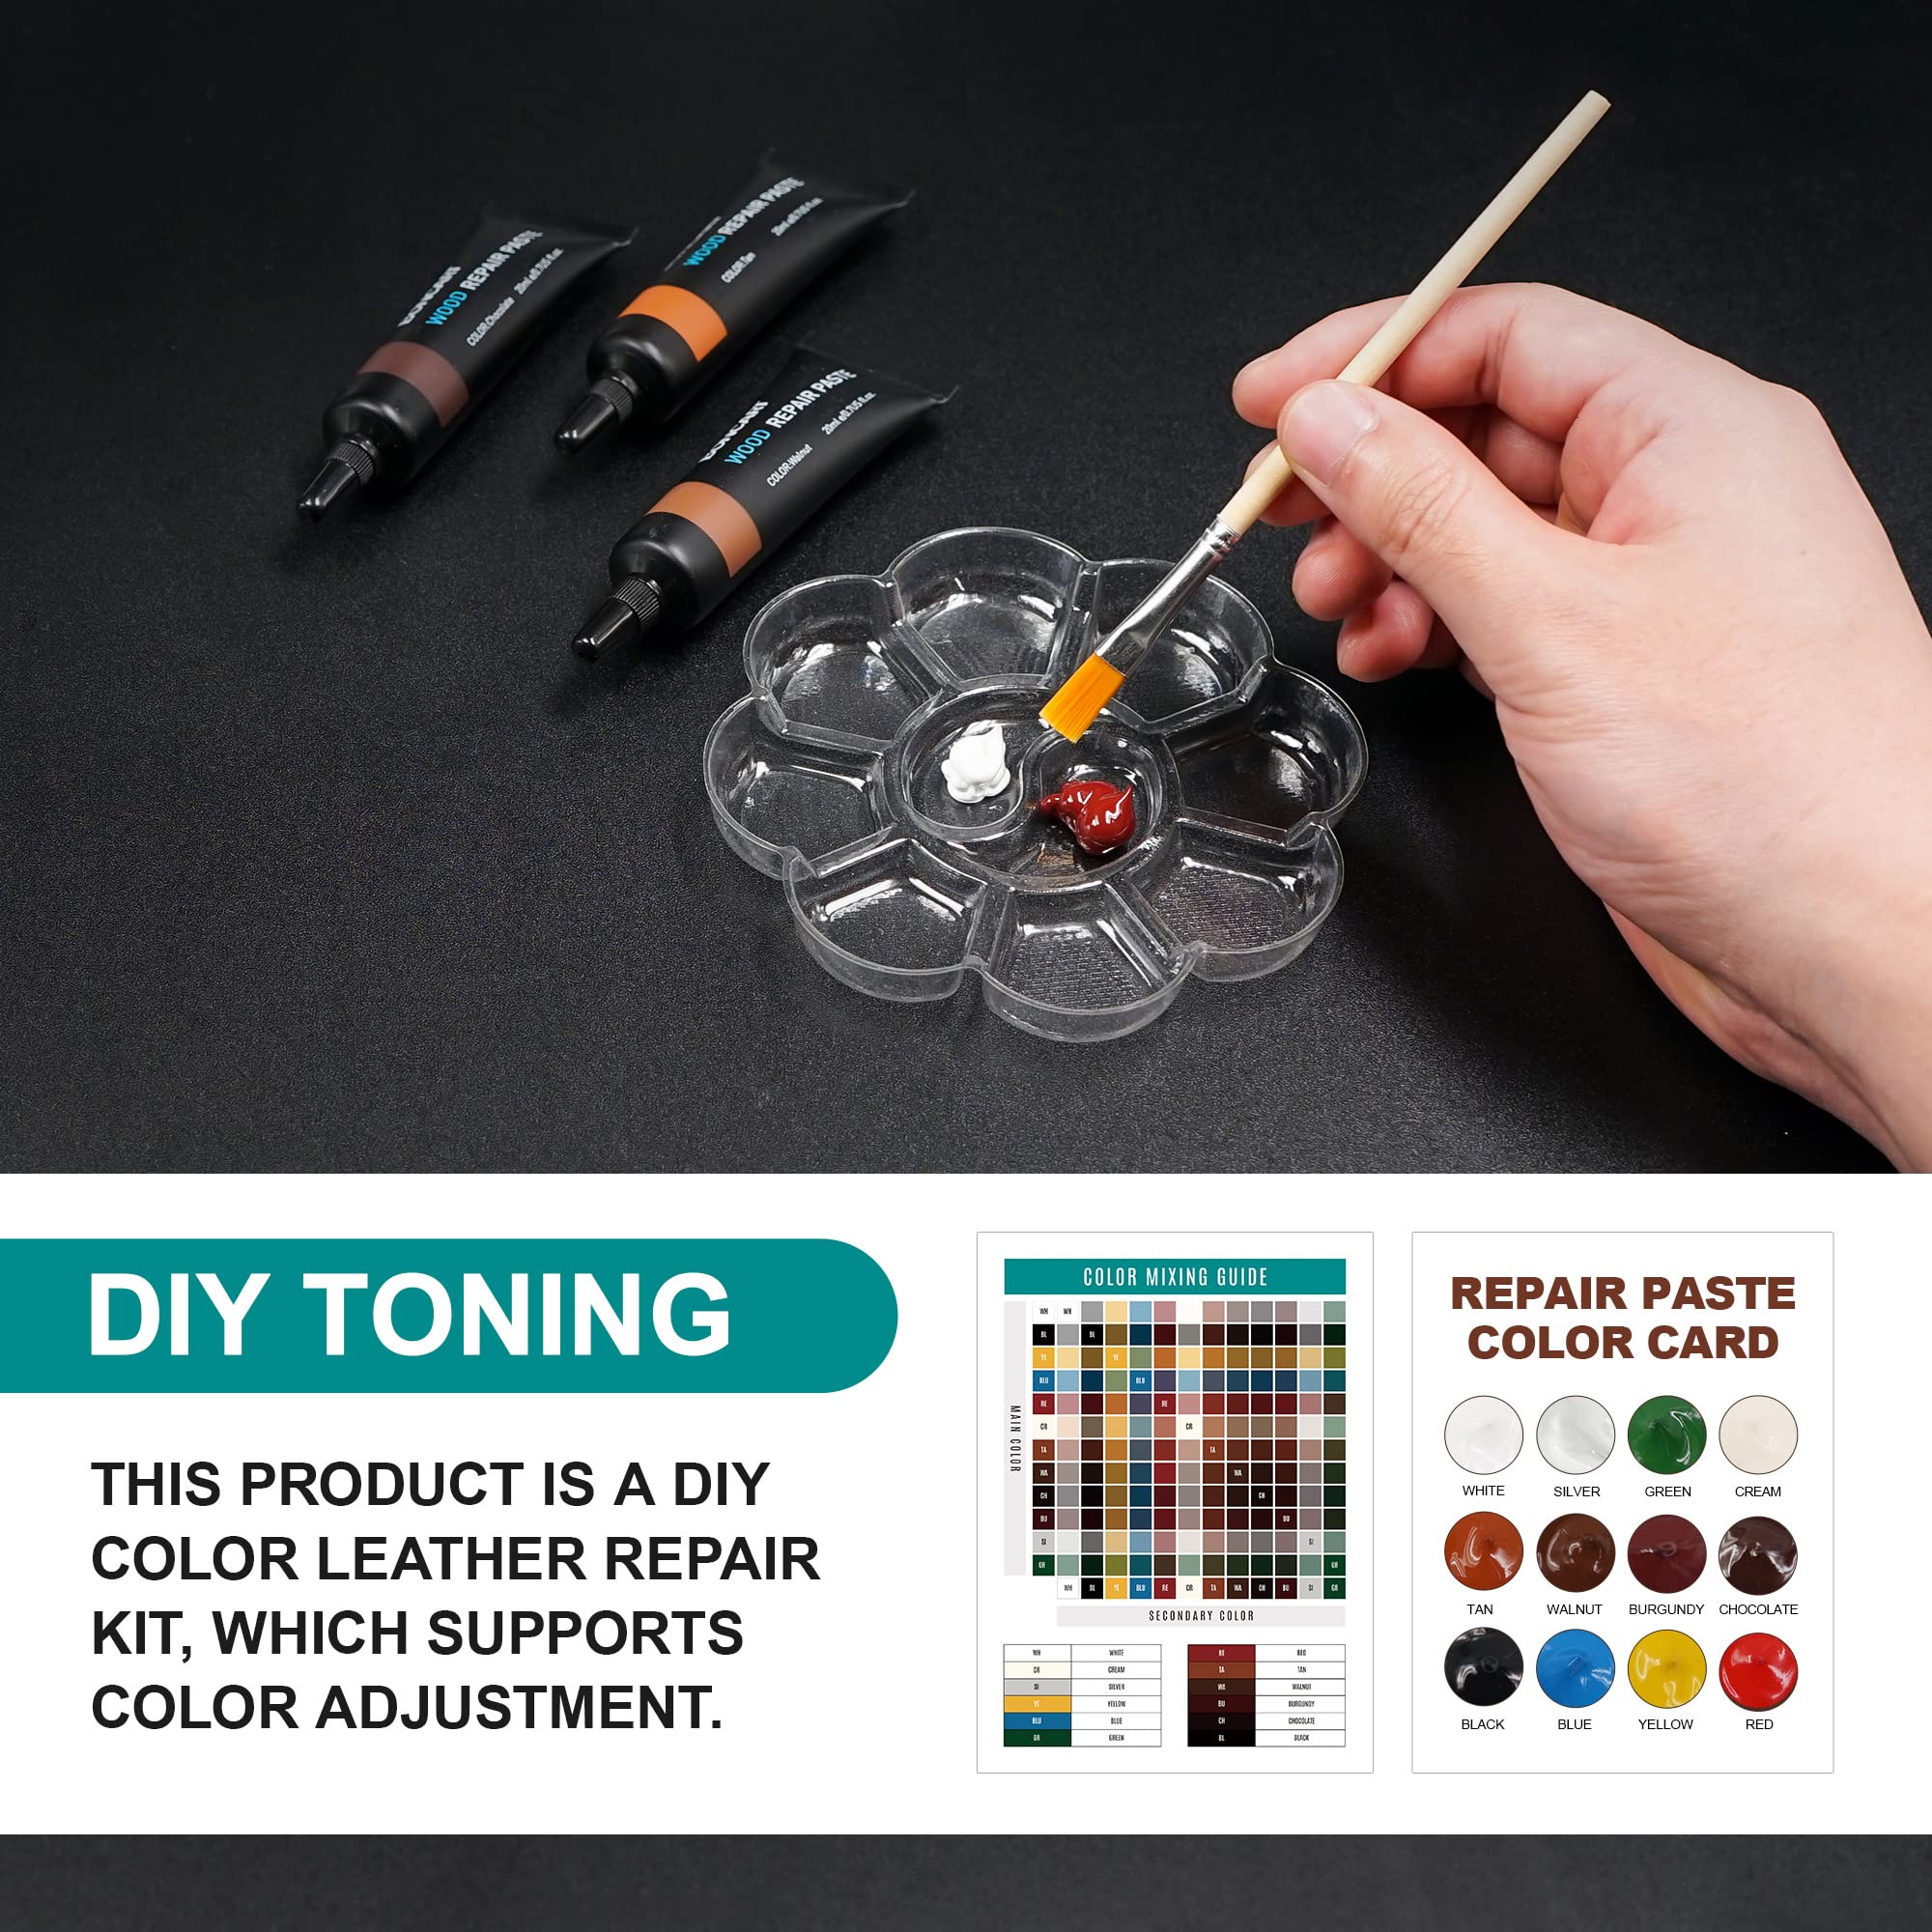
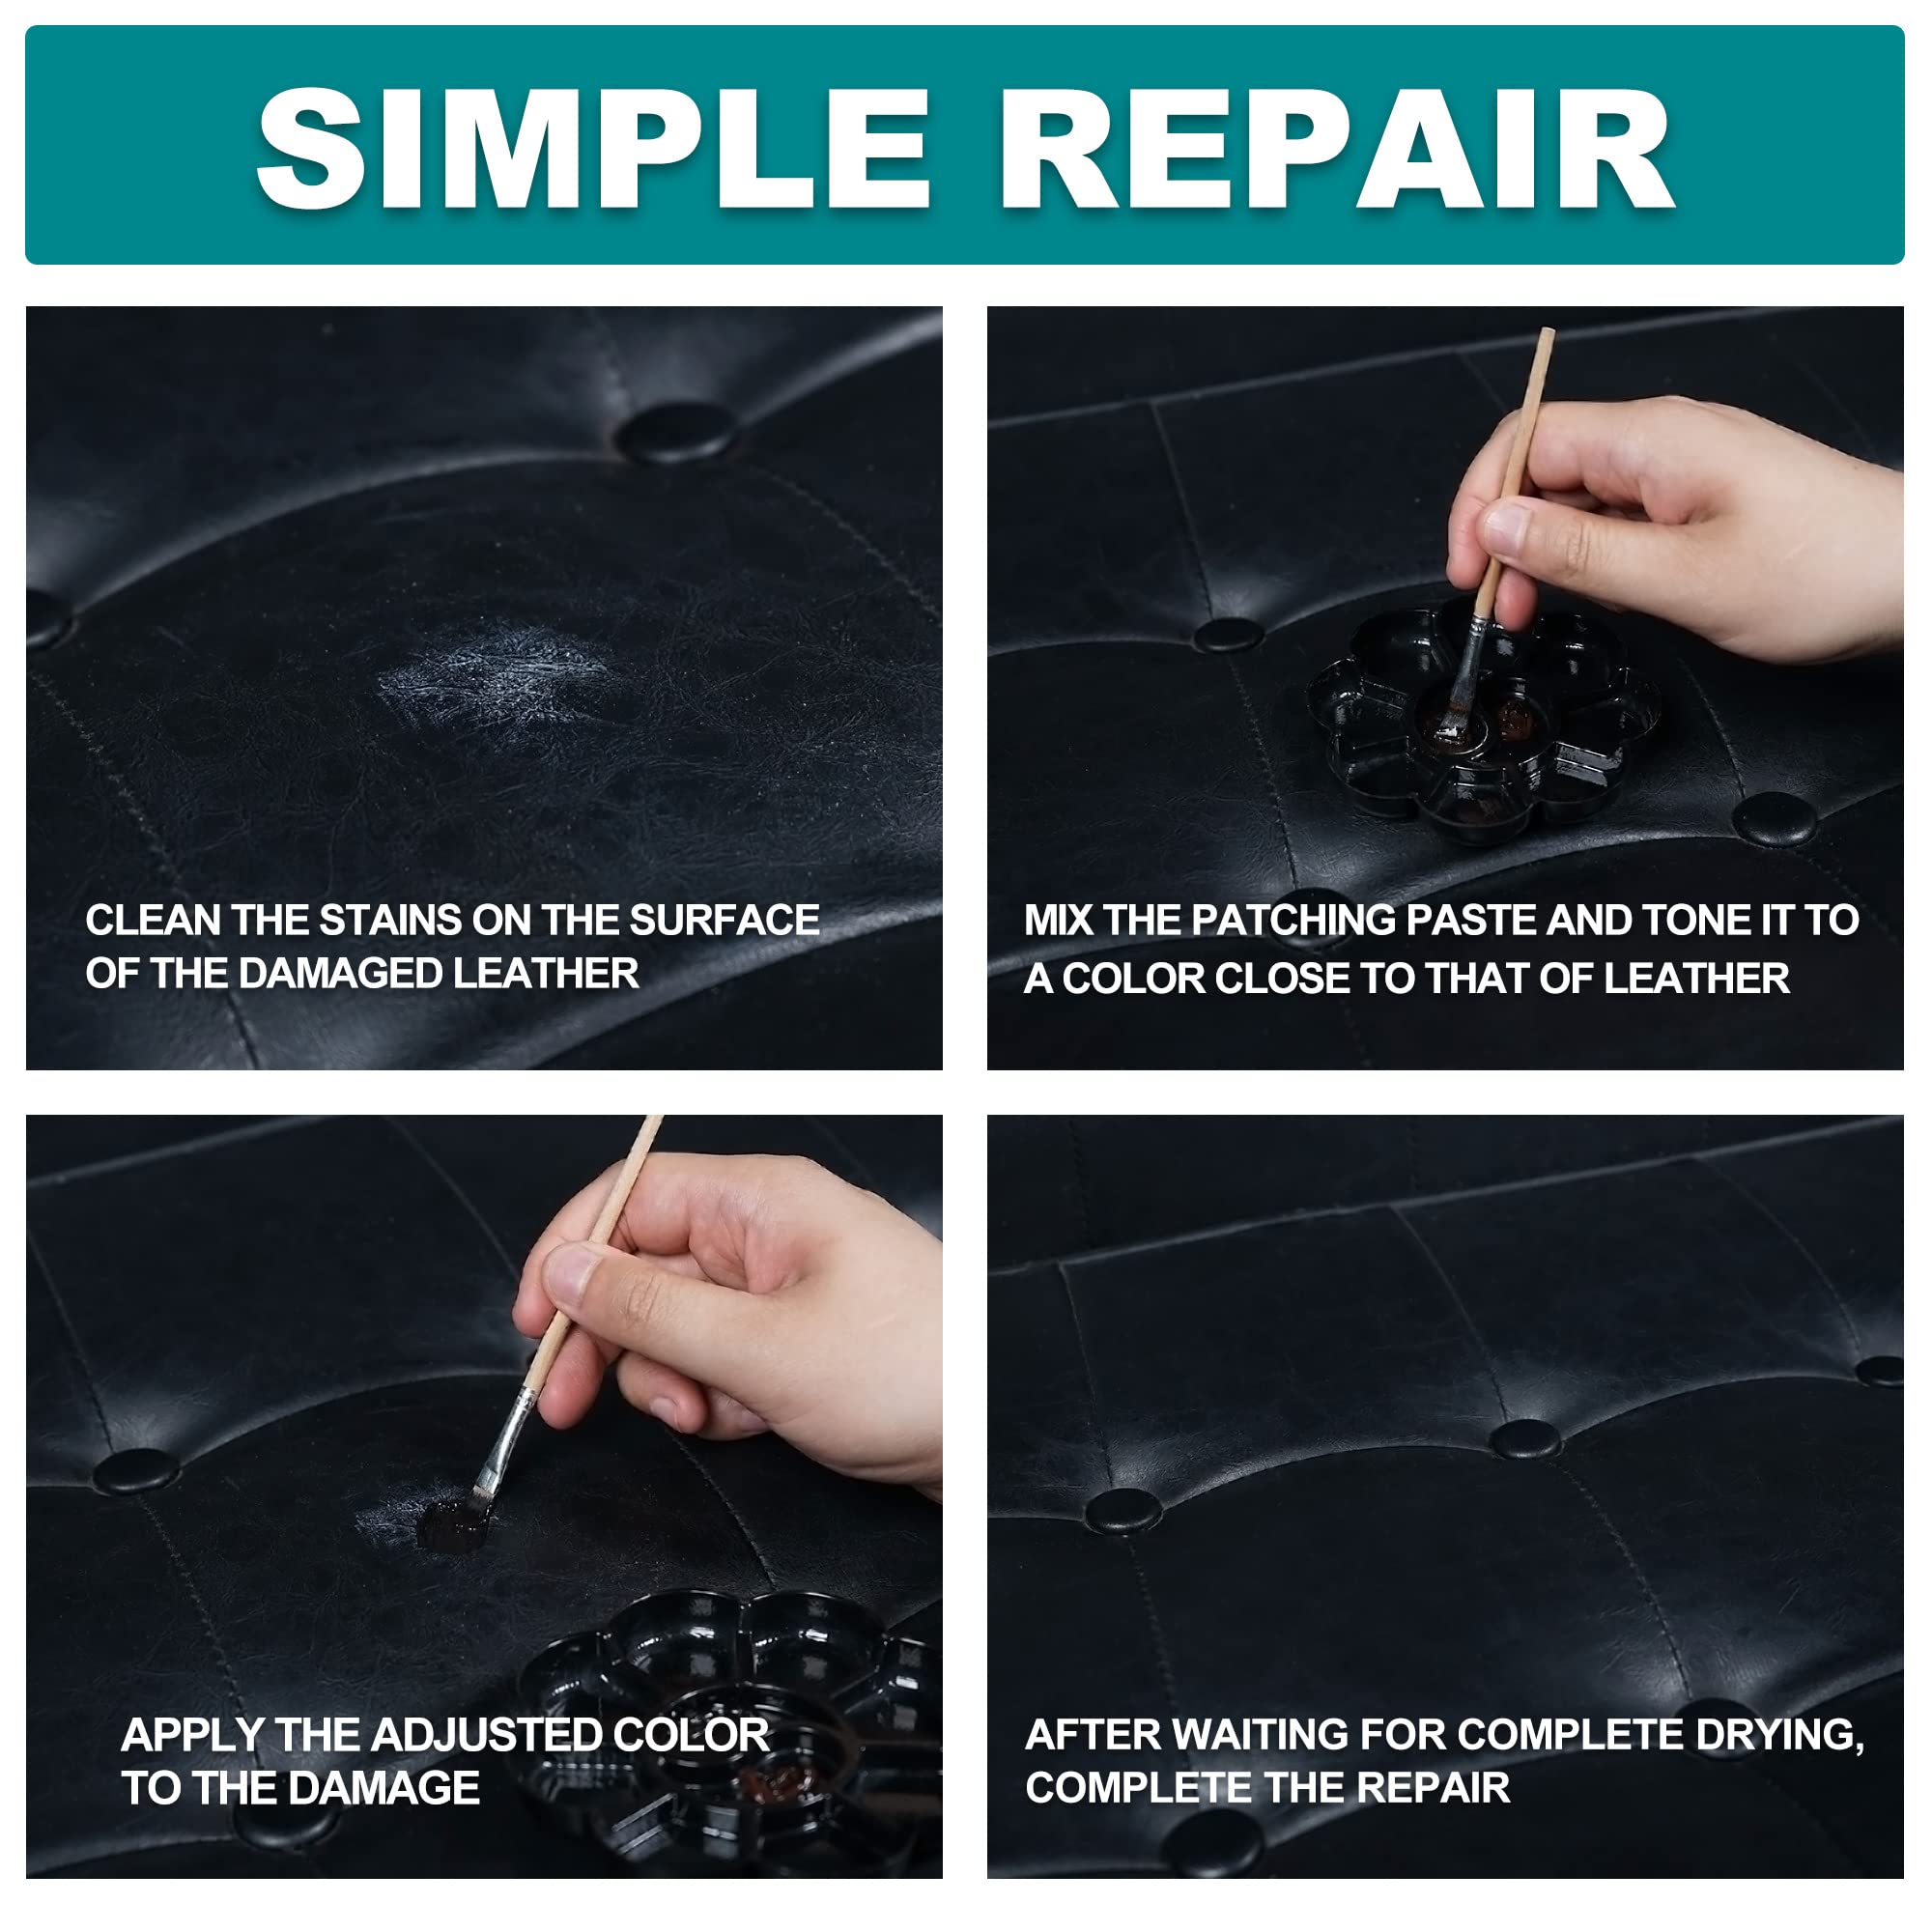
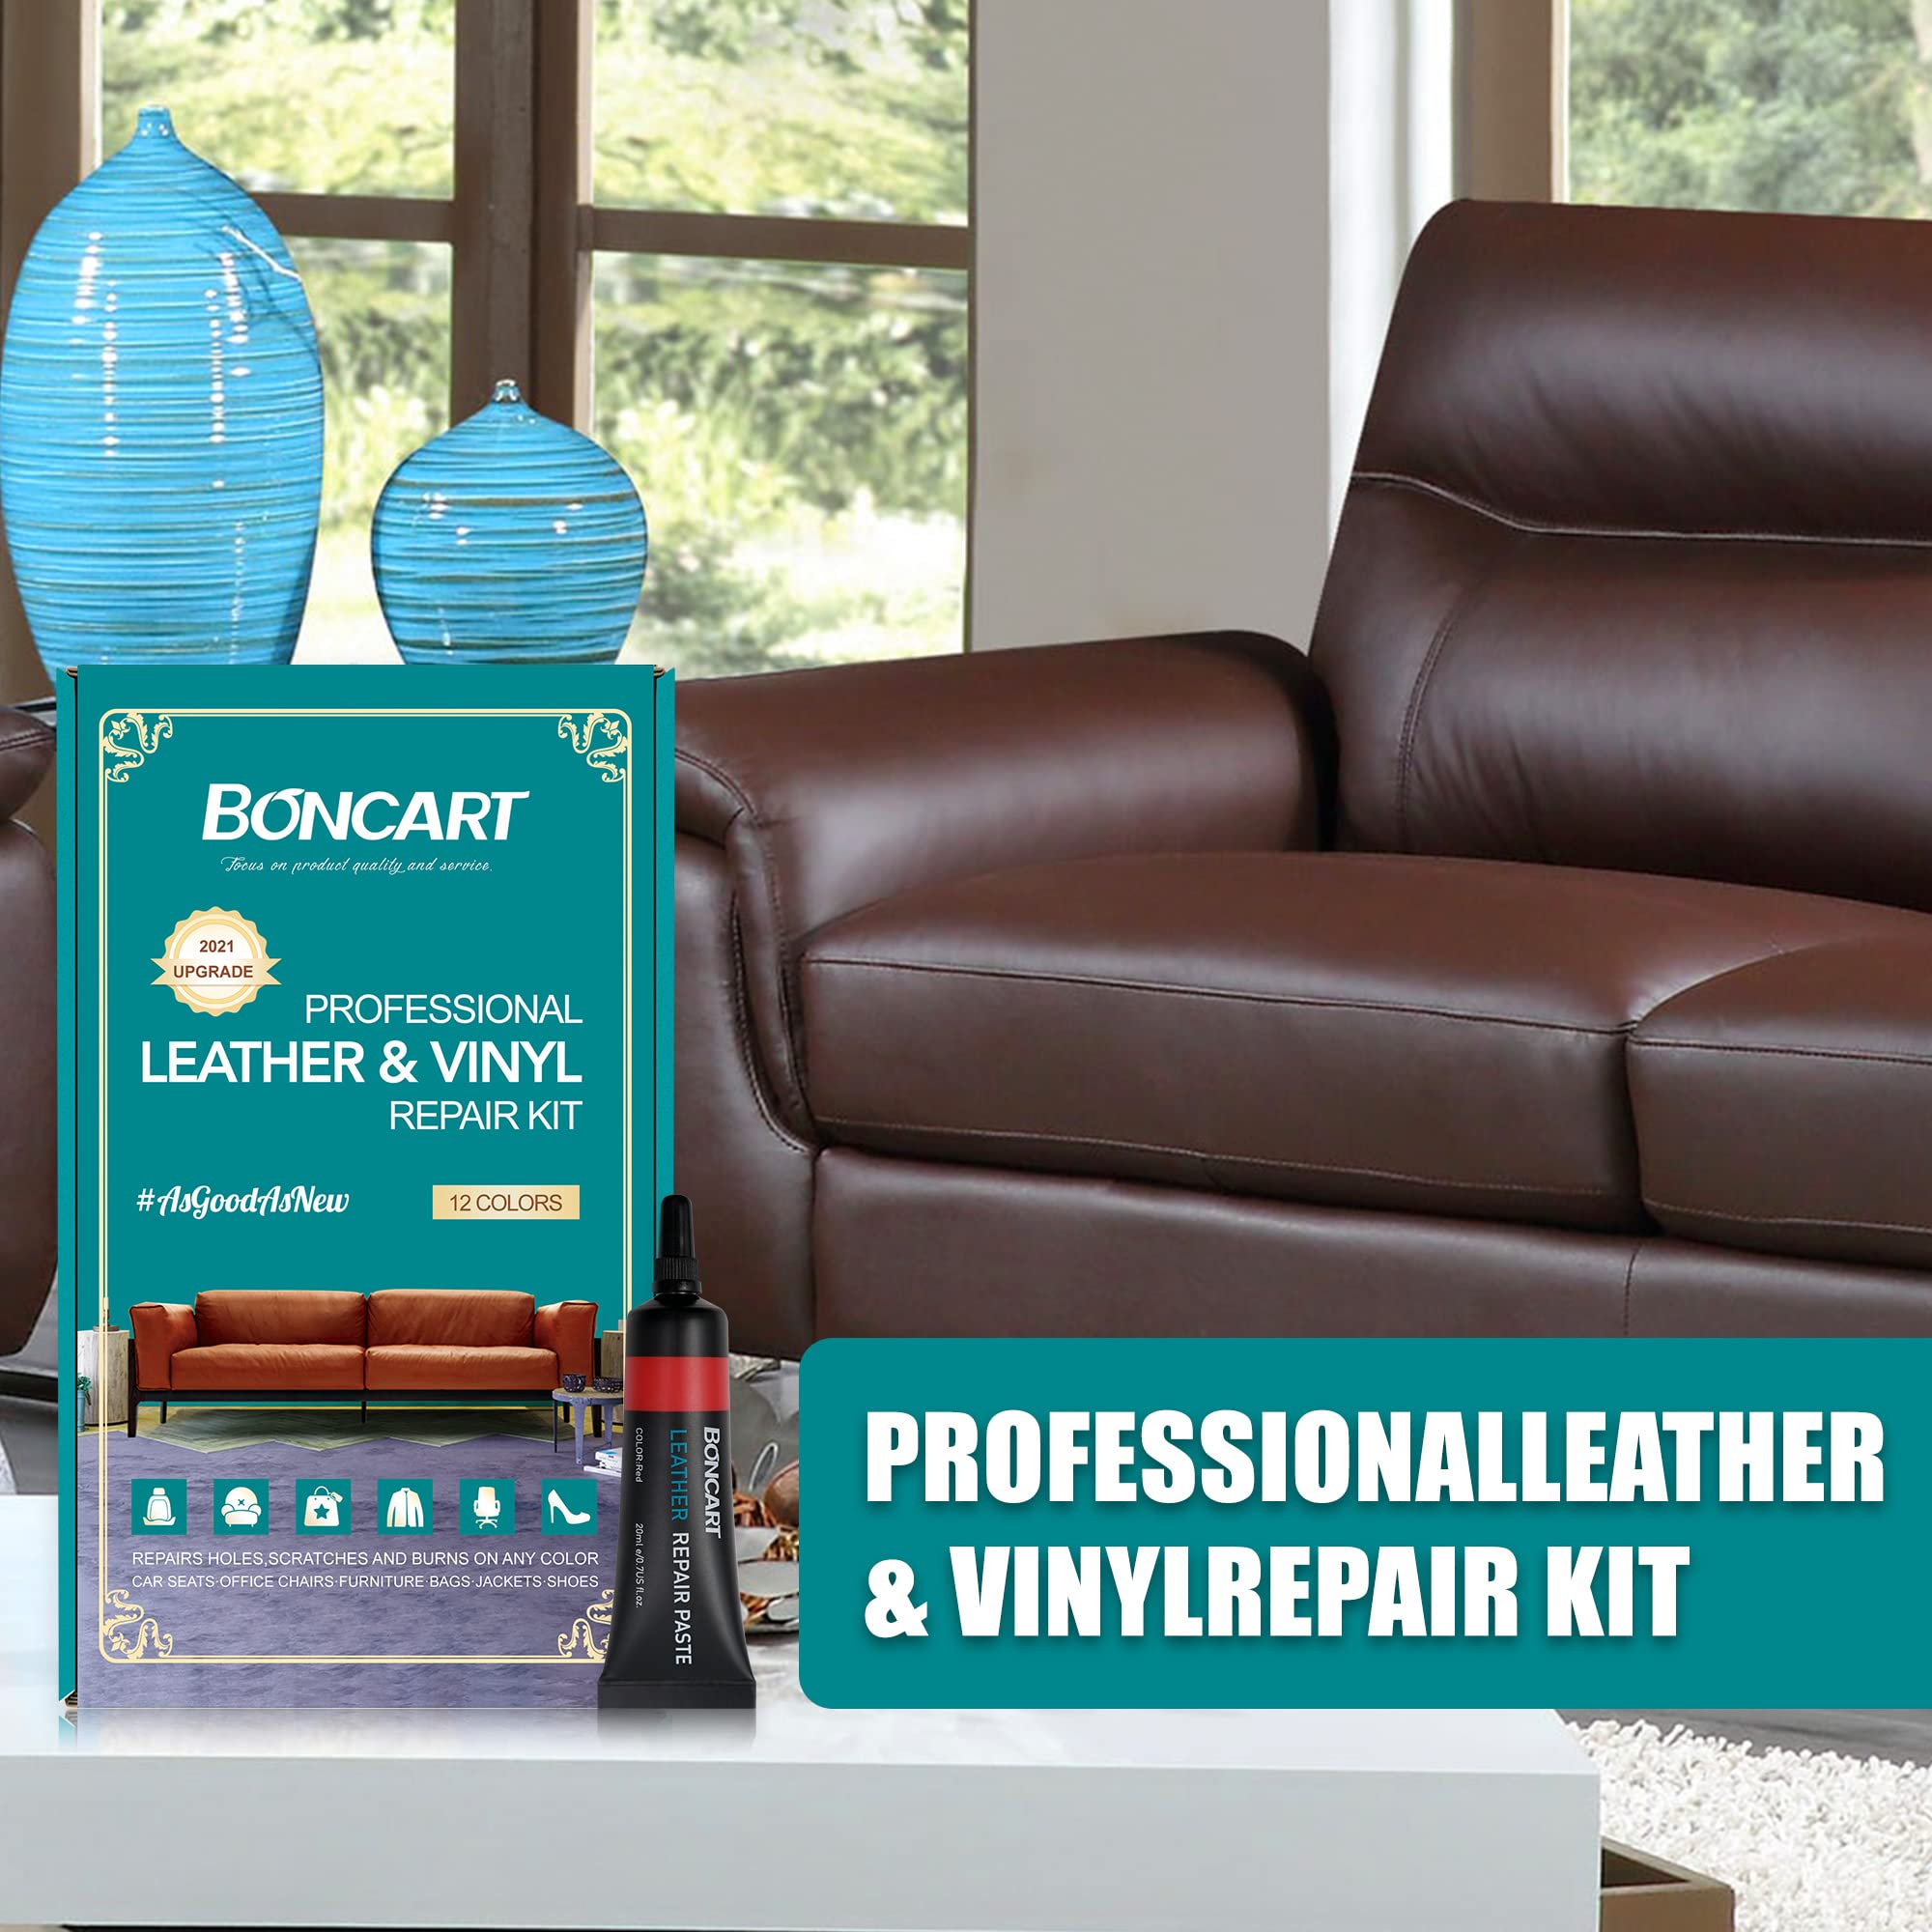
The BONCART Leather Repair Kit is a comprehensive solution for restoring and maintaining leather items. It includes 12 colors of repair paste, a color mixing guide, and various tools to ensure a flawless finish. Ideal for a wide range of leather products, this kit not only repairs but also protects against future damage, making it a must-have for any leather enthusiast.
M**Y
Dry fast !
Easy to use and dry fast.It’s good stuff.
H**Z
Fantástico
Me encantó exactamente con la descripción
N**B
Leather color kit
I had a hard time matching the color of my leather sofa. I also didn’t have a lot of patience. I will try again. So far at least the lost color is not standout white.
B**N
Not a complete kit
Didn't come with the paper or whatever was needed to finish the patch
M**N
OK
THIS HELP A LITTLE BIT. BUT I'LL PROBABLY REPLACE THE PART I NEED. I COULDN'T MATCH THE COLOR.
J**J
Doesn’t work…
I say this product does not work because it didn’t come with directions. I even went to the company’s website and sent them an e-mail with no response. It has a color chart which looks like you can mix/match colors but it doesn’t make sense. I would not recommend.
S**C
It says "professional," not, "so, you've never done this before"
I got this kit to repair the claw marks on my driver's side door my cat made one day when I left the window down. It was my fault, not hers, she was just a curious innocent who used her claws to pull herself through the opening. Anyway, I saw this kit and decided to try it. I first watched a YouTube video on a similar kit of how to go about repairing the leather. First off, there were multiple tiny holes and tears in the leather and I had to go in and trim these little holes. Then I had to cut the texture fabric - the kit called it paper to fit those tiny holes. (After reading the description for the product again, what I thought was a texture cloth, was actually the polishing cloth that came with the kit. My question is - where is the texture paper and why is it not included?) Mind you, I was only going to fix one hole to see how well I could do it. Trimmed - check. Cut tiny piece of fabric and stuff the edges under the leather surrounding tiny hole - check. Took about 5 minutes, but finally managed it. Now the hard part. You have to mix the colors yourself to match the vehicle's interior. I thought to myself, I paint and regularly mix colors , no problem, right? Uh, wrong. First off, I didn't see a match for my car's interior color on the card the kit provided. It's kind of a creamy, beige taupiesh. I tried mixing the color closest with a little more cream, but it just came out a flesh color. No matter, what I mixed, it never really came close to the color. I decided to apply the color anyway to see how it looked on that one hole. It was a pain in the neck to apply just that miniscule bit of color. It kept wanting to lift the texture fabric away from the hole. Even though I tried smoothing it with the stick it just created something that looked like Betty Crocker frosting. I guess it just dried faster than I could work with it. I think I got more on me, than the hole. I may try it again later, but in reality, probably not. I think I'll just get some taupe duct tape for now, it couldn't look worse than what I tried to do.
M**O
Great for patching up "pleather" items!
I've had this for a several weeks and hadn't gotten the change to try it out until recently.I used it on a shoe whose pleather insole had broken and was beginning to peel. I prepped the area per instructions and let it dry. It was a lot like painting, except you have to be careful to ensure there are no bumps, airbubbles, or visible lines before drying or else it will dry with the texture. I let my shoe dry overnight and I have been using it ever since, with no problems so far.My biggest takeaway was just how much more easy it was to use than initially thought! I recommend.
Trustpilot
3 weeks ago
2 weeks ago