Buy anything from 5,000+ international stores. One checkout price. No surprise fees. Join 2M+ shoppers on Desertcart.
Desertcart purchases this item on your behalf and handles shipping, customs, and support to Portugal.
๐ Recharge your Pixel 6aโs life โ DIY power, pro results!
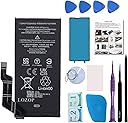
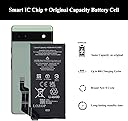
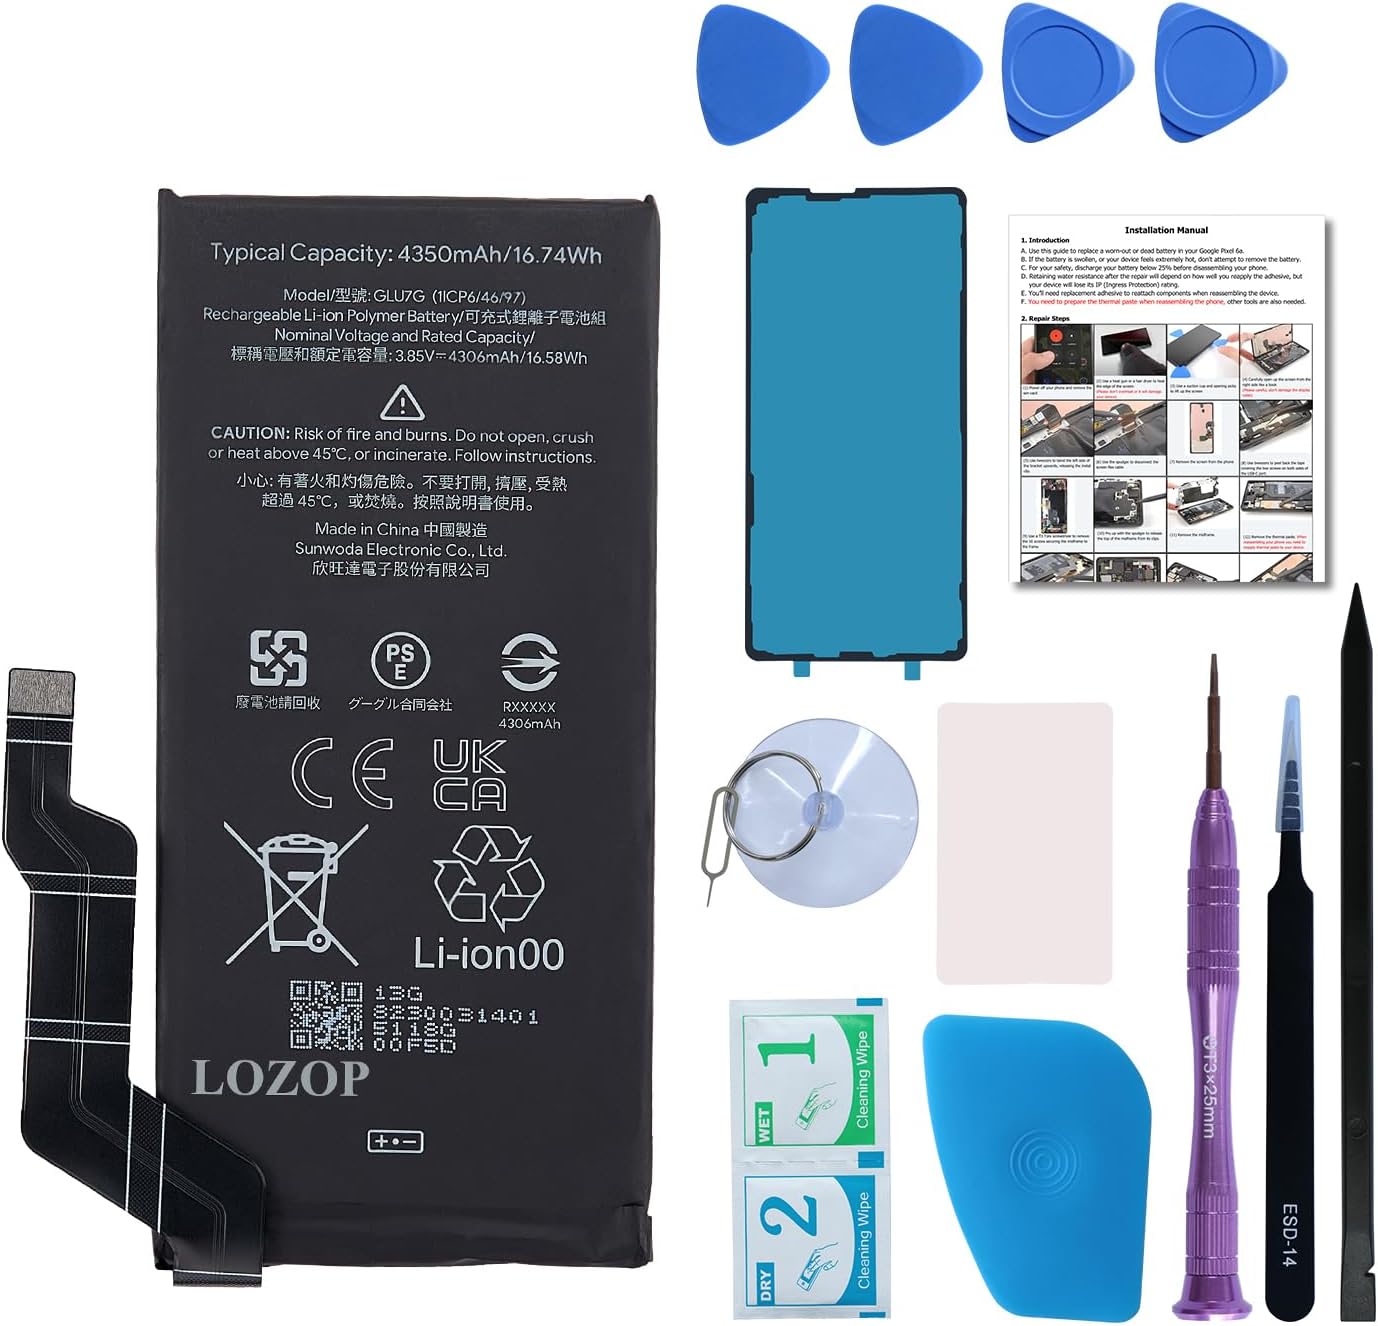
This Pixel 6a Battery Replacement Kit features a high-capacity 4410mAh lithium polymer battery with OEM-grade IC chip for perfect compatibility. It comes bundled with a professional repair toolkit and detailed manual, enabling easy self-repair. The package includes premium adhesive for a secure back cover seal and offers a 12-month warranty, making it the ultimate solution to revive your Pixel 6aโs battery life and performance.
| ASIN | B0DLKKPBKS |
| Antenna Location | Phone |
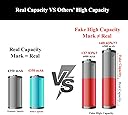
| Battery Capacity | 4410 Milliamp Hours |
| Battery Cell Composition | Lithium Polymer |
| Battery Cell Type | Lithium Polymer |
| Battery Weight | 48 Grams |
| Best Sellers Rank | #32,680 in Cell Phones & Accessories ( See Top 100 in Cell Phones & Accessories ) #186 in Cell Phone Replacement Batteries |
| Brand | LOZOP |
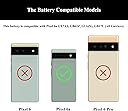
| Compatible Phone Models | for Google Pixel 6a Model GX7AS, GB62Z, G1AZG, GB17L |
| Customer Reviews | 4.3 out of 5 stars 46 Reviews |
| Manufacturer | LOZOP |
| Model Number | LPB-IP |
| Number of Batteries | 1 Lithium Polymer batteries required. (included) |
| Recommended Uses For Product | Phone |
| Reusability | Rechargeable |
| UPC | 717522525392 |
| Unit Count | 1.0 Count |
| Voltage | 3.85 Volts |
| Warranty Description | 365 days warranty |
W**.
This is the One You Want
If you need a battery for you Pixel 7a this is the one you want. As good as original. My phone was dropping out at around 50% it would just shut off. The case was a bit swollen too. This battery made the phone like new. Battery lasts for days-not hours anymore. All the tools included worked well as did the new gasket seal. It's not a terribly difficult job and took me less than an hour. The worst part was removing the old sticky gasket. Once complete I followed the instruction to FULLY charge the phone and FULLY discharge a couple of times. Since then it's been like a new phone! Price is great for what you get and what it will do for you--get it!
U**R
TWO TIPS to make things easier
Installation was easy, though I watched several videos rather than relying on the instruction sheet - which COULD have been more useful if they'd added two suggestions. ONE: Sure, a heat gun can get the phone hot, but there are warnings you can damage everything. Well, my phone has gotten quite hot in the past without damage - how? By accidentally leaving it in the sun. So that's what I did, no heat gun needed, and once it got toasty the adhesive gave way easily, no need for alcohol or any assistance. Same thing for removing the battery, a second dose in the sun heated the screen so the battery came free with easy see-saw motion of the plastic "flosser". I bought isopropol alcohol for nothing, heat did all the work. TWO: My favorite part was replacing the adhesive at the end. It is attached to a plastic sheet that fits over the phone - run your fingernail along the edge and it sticks perfectly in place. A huge relief, since in the past I've had other methods fail and I get mangled adhesive or no adhesive and a loose back cover. NOTE: Once that adhesive is down, there is still a protective cover on the top of the adhesive. Squeeze the back on and it won't stay. But use the tweezers to carefully pull off the protective cover - a long strip of plastic spaghetti - and now when you squeeze the back on, it sticks perfectly. So how is the battery itself? Couldn't tell you yet. It came at 66% charge state. If it doesn't perform well, I'll update this review. Otherwise, assume the best. Functionality: Installation was easy, though I watched several videos rather than relying on the instruction sheet - which COULD have been more useful if they'd added two suggestions. ONE: Sure, a heat gun can get the phone hot, but there are warnings you can damage everything. Well, my phone has gotten quite hot in the past without damage - how? By accidentally leaving it in the sun. So that's what I did, no heat gun needed, and once it got toasty the adhesive gave way easily, no need for alcohol or any assistance. Same thing for removing the battery, a second dose in the sun heated the screen so the battery came free with easy see-saw motion of the plastic "flosser". I bought isopropol alcohol for nothing, heat did all the work. TWO: My favorite part was replacing the adhesive at the end. It is attached to a plastic sheet that fits over the phone - run your fingernail along the edge and it sticks perfectly in place. A huge relief, since in the past I've had other methods fail and I get mangled adhesive or no adhesive and a loose back cover. NOTE: Once that adhesive is down, there is still a protective cover on the top of the adhesive. Squeeze the back on and it won't stay. But use the tweezers to carefully pull off the protective cover - a long strip of plastic spaghetti - and now when you squeeze the back on, it sticks perfectly. So how is the battery itself? Couldn't tell you yet. It came at 66% charge state. If it doesn't perform well, I'll update this review. Otherwise, assume the best.
J**N
Fantastic for $20 (Pixel 4a)
The battery itself is great! Cheap, works about as well as OEM, and gets rid of the obnoxious limitations Google put on the Pixel 4a with the last update. The accessories however are absolutely useless. Do yourself a favor, get an iFixit kit meant for phone teardowns to do this job. I got lucky and my display had already all but separated from the phone on its own, but I could tell that if I had needed to fight the factory adhesive it would have been wretched with the provided tools. The included replacement adhesives also are a joke, but as a backup backup phone, I didn't really care and just glued the thing. Overall went from about 30 minutes of screen time per charge to about 4 hours.
R**G
Everything Included!!
Came with everything needed as well as instructions and outer sealant. Great directions!!! Would definitely purchase again if needed
E**S
Exactly what I wanted
Got the Pixel 4 version of this. It's 95% great, except that the instructions for applying the new adhesive ring to remount the case back consist of a single image, and the hand model is actually putting the thing in backwards. Be alert to the asymmetries of the phone to get the correct orientation for the adhesive. Great battery, though. I also appreciated the variety of opening/spudging tools included.
J**A
Battery Life Not An Improvement
If your Pixel 5 battery is completely failed and won't turn on, then this will likely be a good cheap fix for you. This battery does indeed work, even if the connector wiring is not a perfect match (doesn't lay perfectly flat where the old one did when installing). But my biggest complaint is that the battery life does not seem to be any better than my 4 year old Pixel 5, which was barely making it a day on light use. With 3 hours of podcast listening on bluetooth earbuds, and on standby the rest of the morning, it's already down to 50% at 12pm. This battery must have sat on a shelf for years before getting purchased. (Was at 43% when I turned my phone on.) You get what you pay for is my takeaway.
M**R
It checks all the boxes.
The battery fits correctly, including the cable connection. The instructions are clear. The cheapie plastic tools do the job. And the price is certainly right. If your Pixel 5's battery is swelling up, or failing to hold a charge, this is exactly what you need. And if you're even modestly handy with tools, you can swap the battery in 15 minutes or less.
S**H
Inadequate tools and improperly placed adhesive
TL;DR: Do not buy this kit. I was happy to find all the tools needed for the job and excellent printed instructions (but I still recommend watching a YouTube video ahead of time). However my happiness was short-lived: After getting through the hard part -- separating the case halves without damage -- I was dismayed to find the included T3 driver not up to the task. The tool is not properly hardened and tempered and the spines immediately broke on the very first screw. I had to file the tool down to get back to good splines and then temper the tool myself with a torch -- with my phone already in two pieces there was no way to stop the project to wait for a better tool. With care I was able to remove all ten screws, but I did have to file and temper the tool one more time. For fear of breaking it again I was unable to properly torque the screws on re-assembly. Then I found the pre-installed adhesive was in the wrong place. In order for the battery to fit and for the adhesive not to damage other parts if it needs to be removed again, I had to peel it off the battery and discard it before installation and use my own adhesive tape. All told these problems added nearly two hours to the project. It remains to be seen how well the battery performs now that it is installed.
Trustpilot
1 month ago
5 days ago