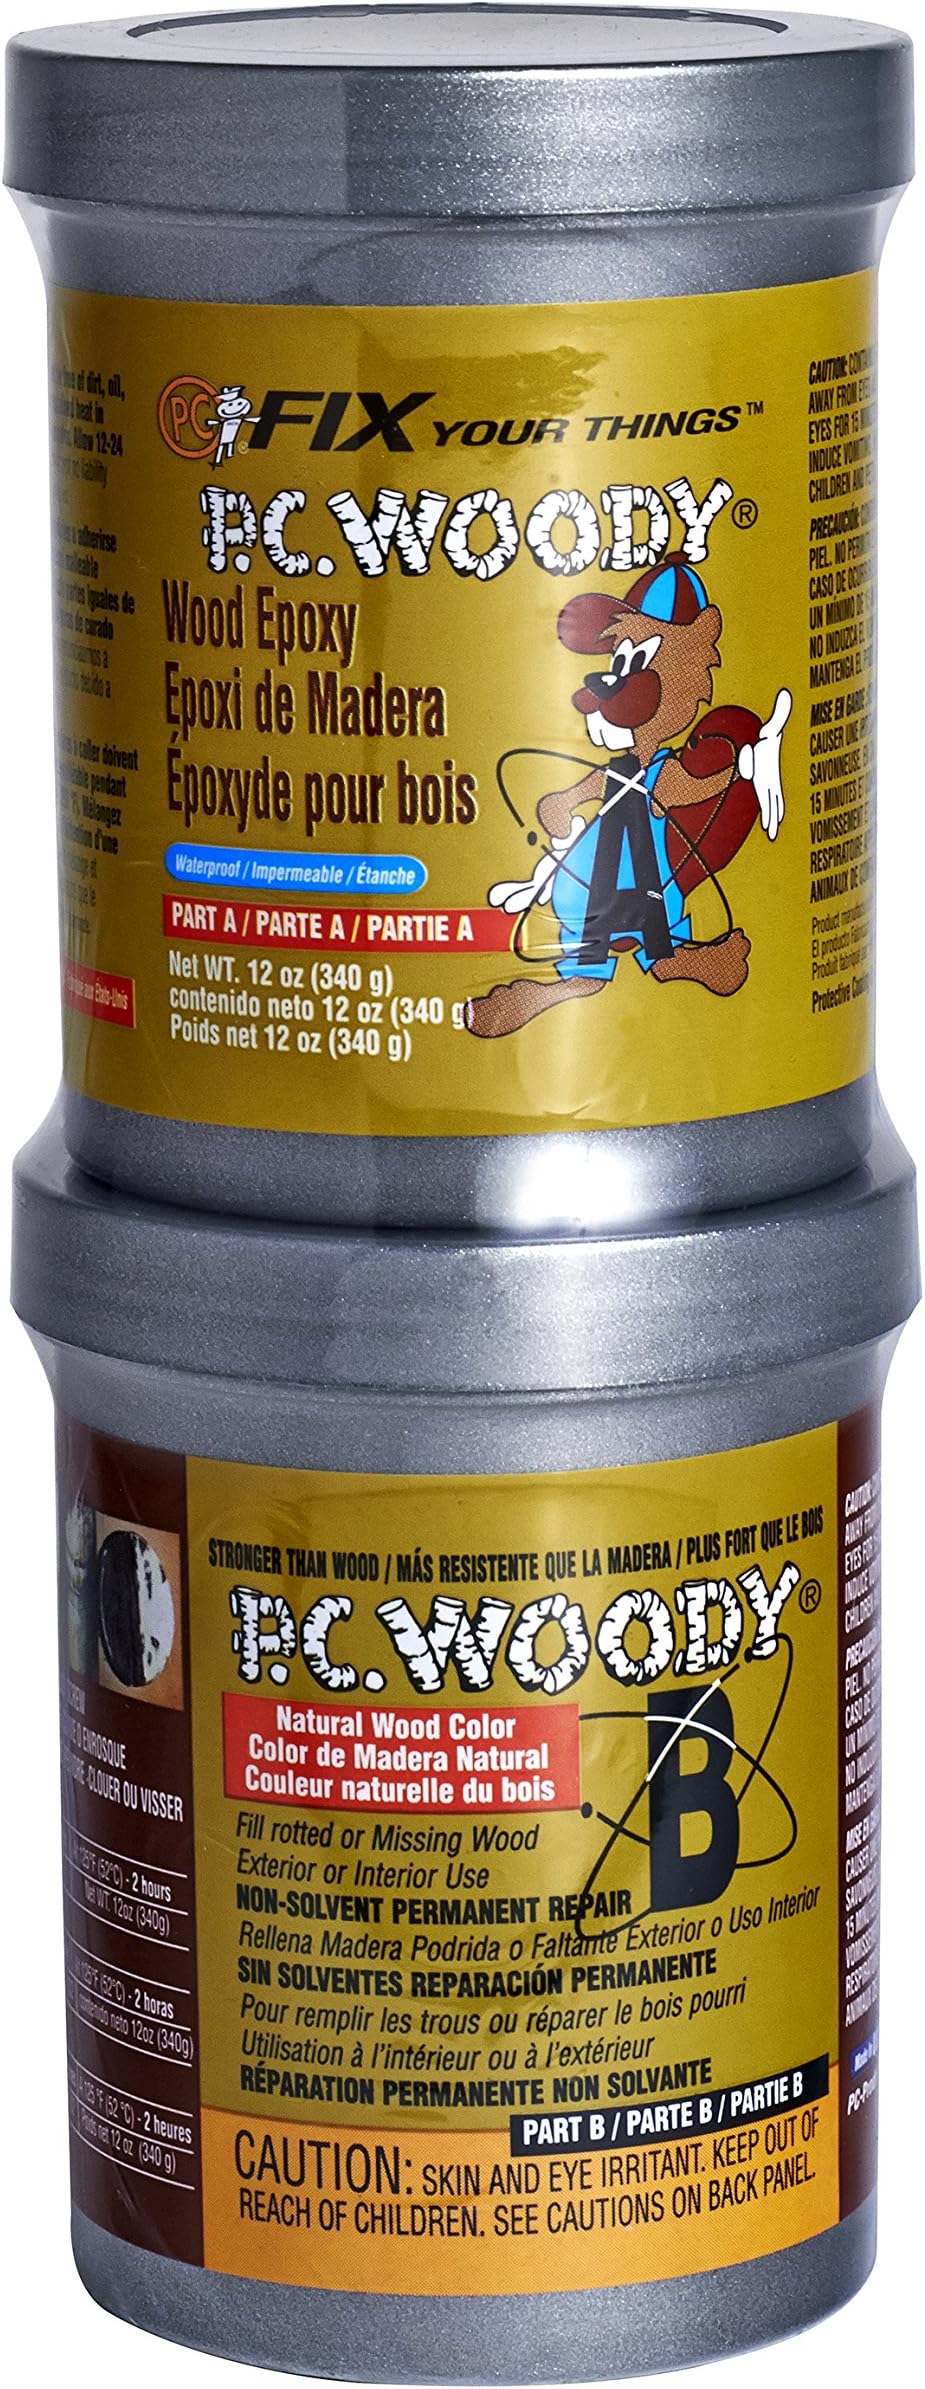
Wood Filling Epoxy Paste
Product ID: 15488872
Details
- BrandPC Products
- Item FormPaste
- MaterialEpoxy Resin
- Special FeatureHigh Tack Time
- Specific Uses For ProductRepair
💧0.44% water absorption
🌡️Service temp -20°F to 200°F
🛠️850 psi tensile strength
Buy anything from 5,000+ international stores. One checkout price. No surprise fees. Join 2M+ shoppers on Desertcart.
Desertcart purchases this item on your behalf and handles shipping, customs, and support to Portugal.
🪵 Fix it once, fix it forever — the pro’s choice for flawless wood restoration!
PC-Woody Wood Filling Epoxy Paste is a two-part, high-strength epoxy designed to replace missing or rotted wood with superior durability. Resistant to weather, UV, dry rot, and water, it offers a high tack, drip-free application and an extended working time for precision repairs. Suitable for indoor and outdoor use, it cures in 24 hours to a hard, sandable finish that can be painted or stained, making it the ultimate solution for professional-grade wood restoration.


| ASIN | B000H5O7Y8 |
| Best Sellers Rank | #1,518 in Tools & Home Improvement ( See Top 100 in Tools & Home Improvement ) #7 in Wood Filler |
| Brand | PC Products |
| Brand Name | PC Products |
| Color | Tan |
| Compatible Material | Wood |
| Container Type | Can |
| Customer Reviews | 4.6 out of 5 stars 3,300 Reviews |
| Full Cure Time | 24 hours Hours |
| Global Trade Identification Number | 00549831633372 |
| Included Components | (1) PC-Woody |
| Item Form | Paste |
| Item Package Quantity | 1 |
| Item Type Name | PC-Woody Wood Repair Epoxy Paste, Two-Part |
| Item Weight | 12 Ounces |
| Manufacturer | Protective Coating Co. |
| Material | Epoxy Resin |
| Material Type | Epoxy Resin |
| Model | 16333 |
| Number of Pieces | 2 |
| Other Special Features of the Product | High Tack, Extended Working Time, Weather Resistant, Versatile Post-Curing |
| Part Number | 163337 |
| Special Feature | High Tack, Extended Working Time, Weather Resistant, Versatile Post-Curing |
| Specific Uses For Product | Repair, Woodworking |
| Tensile Strength | 850 Pounds Per Square Inch |
| UPC | 054983163337 549831633372 |
| Unit Count | 1.0 Count |
| Viscosity Level | High |
| Volume | 12 Fluid Ounces |
| Water Resistance Level | Water Resistant |
J**8
great product
I buy this product a couple of times a year. I really like it but thier's a bit of a learning curve on how best to use and apply it. After its mixed its sets up slow which is both good and sometimes bad. it stays gooy for awhile so i usually let it sit before i apply it. if you putting it in small cracks then let sit for about 5 minutes or so. if your molding larger repairs then you could wait up to an hour before applying. It sticks to your fingers quite a bit especially when its first mixed so I always spray a little WD-40 on my fingers before touching it. It takes awhile to get good and hard so I always give it atleast 24 hours before sanding. once dry it sticks and stays where you put it and doesn't shrink. Works great for out door projects! i've got some on outdoor windowsills and handrail repairs for 3 years and still holding up great with no issues! it doesn't take stain that well but not sure any plastic wood epoxy does?
J**.
Great product!
This stuff is awesome. It is the perfect consistency. It spreads easily but is also firm enough not to sag. Dries super hard and the work time is accurate as stated on the container. Many products like this, the more you work it, the harder it is to keep things smooth and you end up making more of a mess trying to fineness it. I found it very easy to fineness and spread. No pinholes or air pockets. I like that you can aggressively sand the product one it dries without it turning to dust or burning into what you just applied. Now that I am confident in it's capabilities, I've already ordered another batch tonuae on other projects.
J**B
Epoxy wood putty
Putty is easy to mix, and has performed well. Cures over night and is easy to shape and sands well. Very sticky and harder to apply smoothly than previous product I was using. Previous product is no longer available, so sure I will learn a few tricks as I use it more. Price is reasonable for the amount of product received. Would recommend it.
G**S
Great product!
Love this product. I've purchased it a couple times now. Great for repairs on splitting wood. Have also used it as a wood filler. Very strong. If you need to fill screw holes in with the ability for a screw to hold in the same place that it was filled, it will work perfectly. Only thing to mention is that this is a little bit hard to sand down. I use a scraper leaves the pieces of debris in larger chunks versus lots of fine dust
J**R
Makes Permanent Repairs Easy
Awesome product! Replaces rotted wood and completely restores structural strength to the item patched.
J**T
Better than wood fill! But sticky to work with
Okay, so this stuff is awesome to use. I had woodpecker damage to wood siding, and about 200 holes to fill! Used this over a four day stretch, and these two tubs filled every hole (including extra to sand down). Make this stuff in small batches, as it takes about 30-45 min to start to set up. A full day to be able to sand it. You can stain it fairly soon after it starts to solidify- and be aware it does not absorb stain the same way as wood does, so it can take an extra coat or two. What I did was apply a stain two shades darker than I wanted with a tiny brush to just the wood epoxy spots- I did not wipe excess off but let it sink in. Then I covered both wood panels and spots with a semi-transparent polyurethane product to kind of blend it in. (It’s not perfect, but better!) In my pictures, you can see the one side where spots are darker and blend better- that’s where I applied extra stain to the fill product first; the pic with lighter spots was just the semi transparent stain/poly product on top. The paste itself was easy to use, just get an equal scoop of each tub and mix on a clean surface until color is uniform. You can get too much of one or the other and get a weird texture, so be careful that you get equal portions. I was applying this to holes in recessed areas so I used mostly fingers to shove it inside the woodpecker holes- I used disposable gloves because after the first trial batch I found it to be very sticky and tough to wash off my hands. Goo-gone did work but I thought gloves were a faster option. The material is sticky when mixed, a bit like room temperature peanut butter- so apply it in multiple directions if you need to fill holes or get an even surface. (If you are filling holes like I was, it saves product to use the gap-fill spray in foam stuff inside it first!) It did sand well where I sanded spots- by the end of my project I was too tired to sand the ones I ended up taking pictures of. It’s a never-ending battle with my neighborhood woodpeckers, so I expect more holes next visit. I just hope this stuff is bad tasting to birds hahahaha
B**N
Somewhat tricky and very sticky but effective
Somewhat hard to work with. Recommend doing a pre fill of the hole to fill in most of the void. Allow to dry then do your final application. Stuff dries as hard as concrete.
E**S
Easy to spread; moldable...wellllllll...
Mid-Use Review I am trying to use this product to repair rot on the corner of some trim where one side of the corner is non-existent. I know, I know...”why did you let it get like that?” Well, the paint was holding it all together until the paint failed too...dang water! Anyway, the description says the PC Woody epoxy can be “shaped”. But don’t think of shaping as in modeling clay or even wood filler. If you are using it as the person in the video, I am sure it it easier with which to work. Note that gravity is helping in the video application. If gravity is working against you, as in my application, HAVE PATIENCE. The epoxy has to set up quite a bit before it stops sagging and sticking to your putty knife. It was about 20 minutes before it was set up enough to “mold”. I will be applying a second thinner coat where needed once this application cures and can be sanded down. I will update this review afterward. After 5 hours, it is still rather tacky. We live on the central coast of Corruptifornia where it was about 60 degrees today. Also, it is epoxy...it not easy to clean up.
G**.
Buena
Fácil de hacer la mezcla y usar , no pierde mucho volumen al secar y se lija bien .
A**N
A1+ PRODUCT
this is a super good item. bonds well and is easy to use and sand and paint. but with confidence
R**S
Buen producto
Buen producto, muy práctico y resistente. Fácil de manejar y aplicar. Se puede trabajar como cualquier madera, una vez endurecido.
A**R
pc-woody 16333
putty mixed ok and set hard in timber.
F**E
No llego completo
Envíe una reclamación sobre este producto ya que no llegó completo y es fecha que no recibo ninguna respuesta
Trustpilot
1 month ago
1 week ago