Desert Online General Trading LLC
Dubai, United Arab Emirates
Desert Online General Trading LLC
Dubai, United Arab Emirates


🛠️ Level up your 3D printing game with precision and durability!
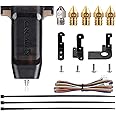
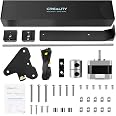
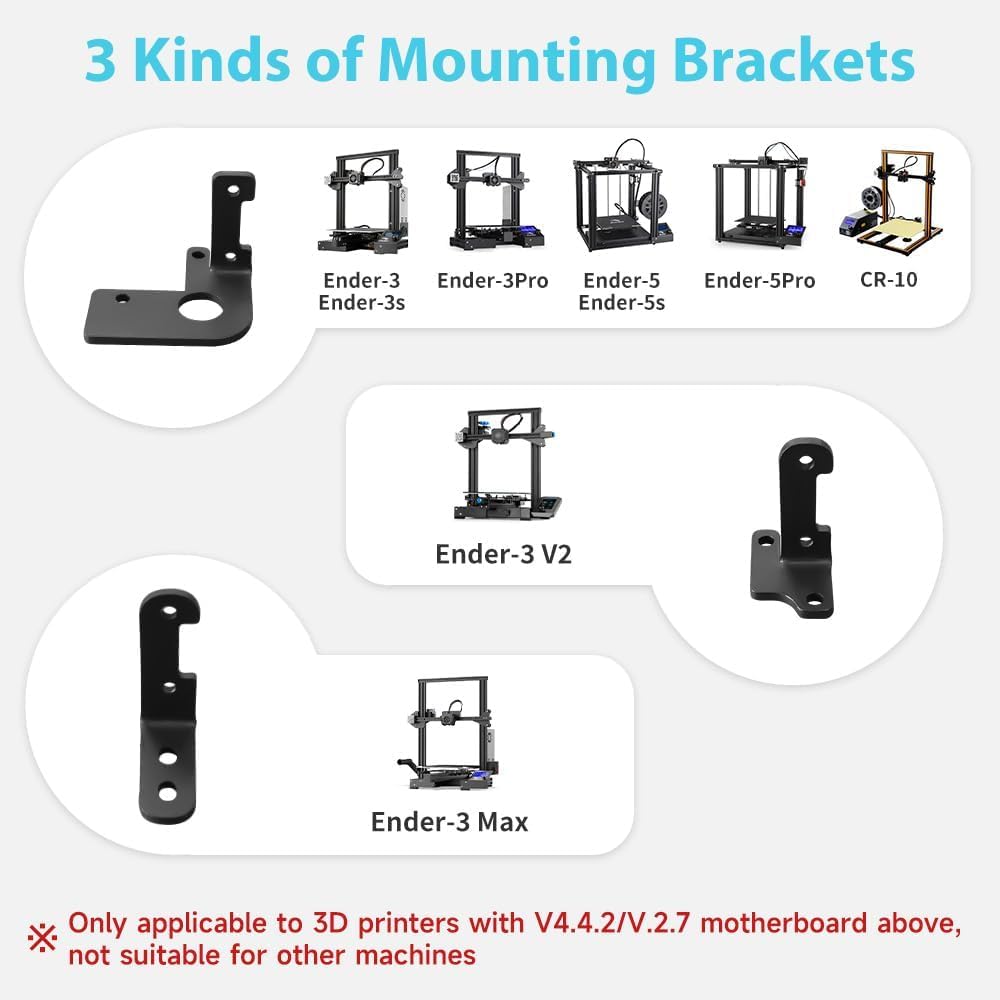
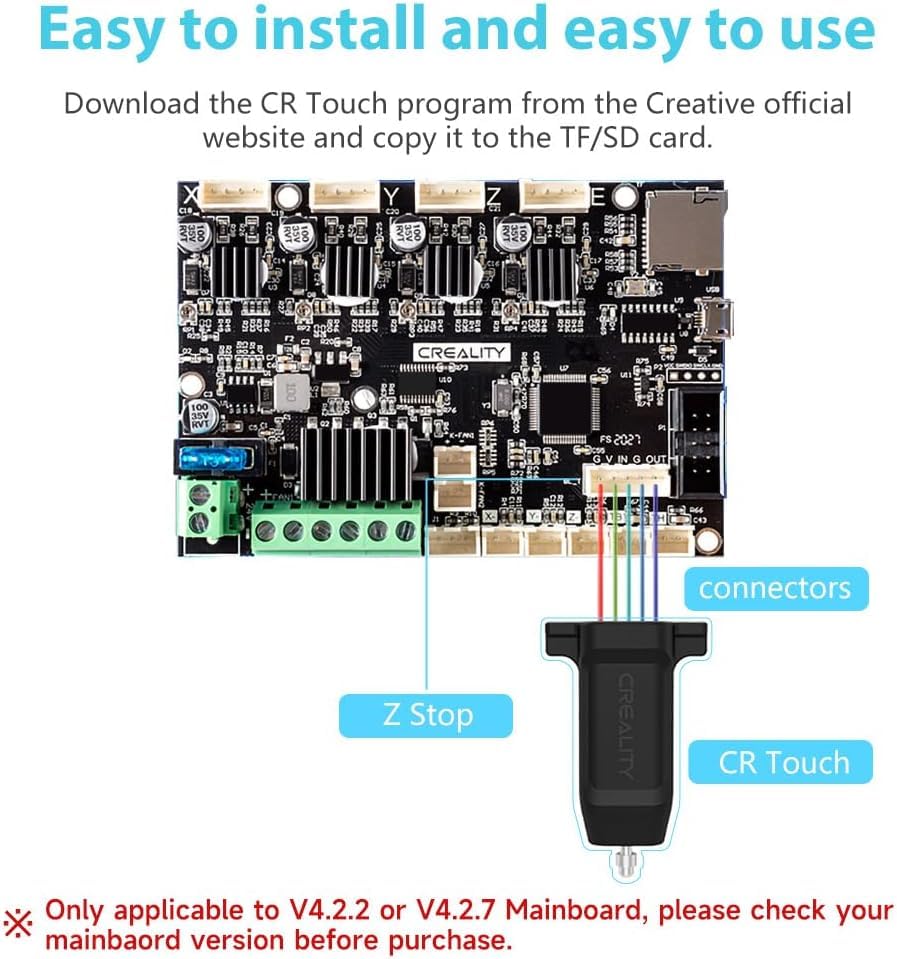
The Comgrow Official Creality CR Touch Auto Bed Leveling Sensor Kit offers high-precision, multi-point bed leveling compatible with popular Creality 3D printers using 32-bit V4.2.2/V4.2.7 mainboards. Featuring a durable metal push pin and versatile mounting options, it ensures consistent first-layer accuracy and long service life exceeding 100,000 uses, making it an essential upgrade for professional-quality 3D printing.


| Product Dimensions | 6.3 x 4.09 x 9.98 cm; 120 g |
| Item Weight | 0.12 Kilograms |
| Batteries required | No |
Trustpilot
4 days ago
1 week ago
3 weeks ago
1 week ago