


🔌 Power up smarter, anywhere you roam!
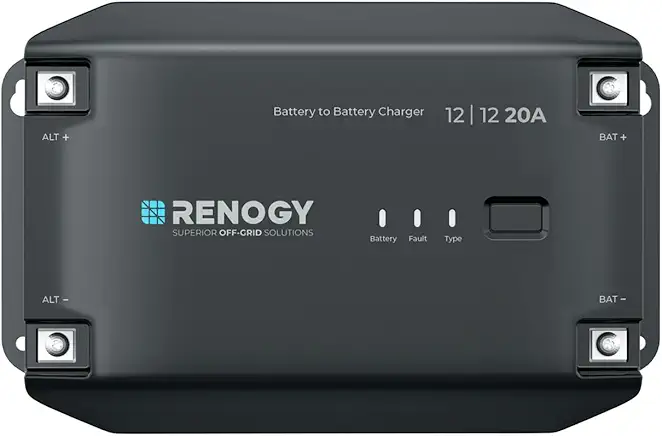
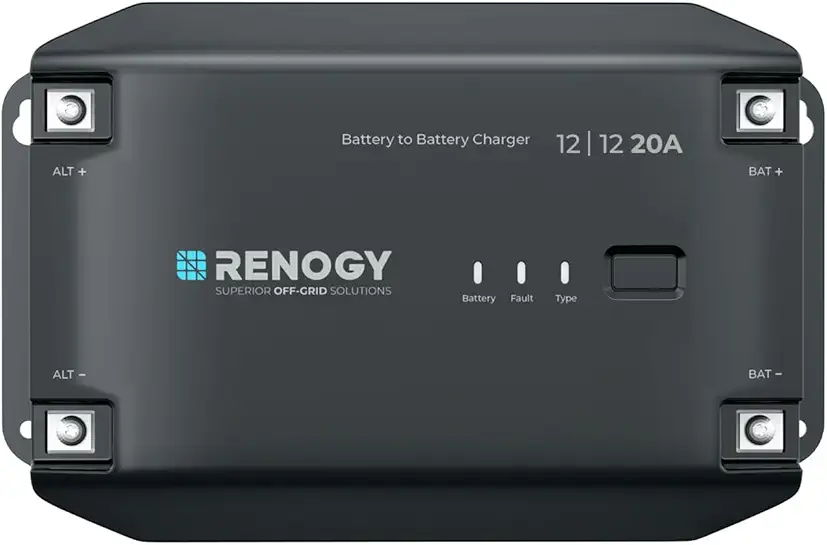
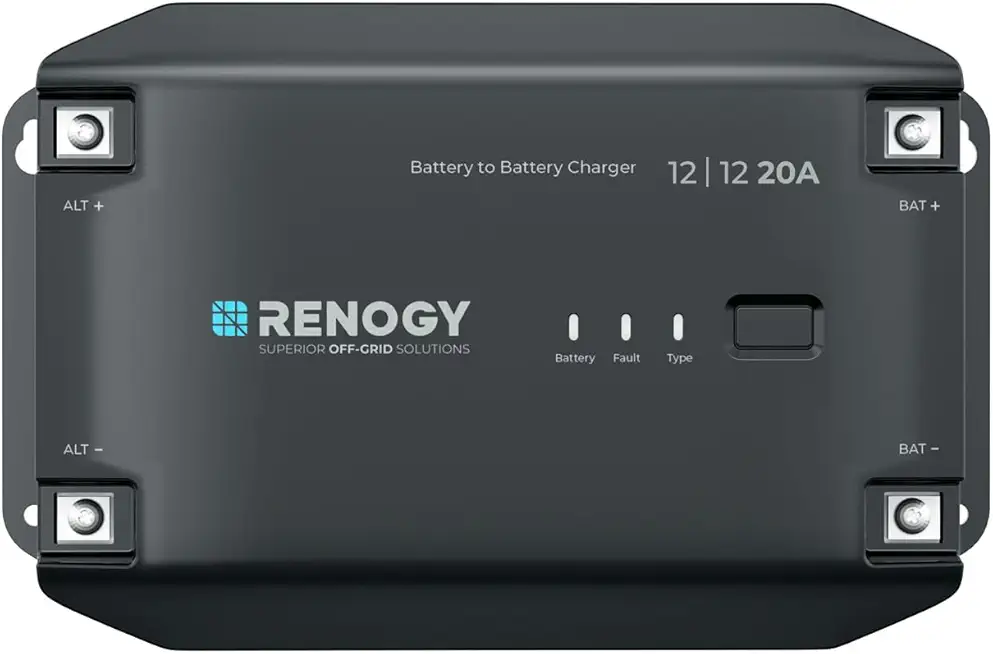
The Renogy DC to DC Charger 12V 20A is a versatile, multi-stage battery charger designed for vehicles, RVs, boats, and marine applications. Featuring intelligent alternator detection, it charges only when your engine runs, protecting your battery health. Its compact, wall-mount design ensures easy installation and safety with internal short circuit prevention. Optimized for LiFePO4 batteries with one-touch activation, it also offers comprehensive protection against overload, short circuits, and temperature extremes. Bluetooth compatibility (with optional modules) allows remote monitoring and control, making it a cutting-edge solution for professional-grade battery management.


T**.
Great
Easy to set up and charges my lithium house battery reliably while driving. Great for off-grid setups and super handy when solar isn’t available.
A**N
Read instructions! :-)
This charger is for my pickup bed/camper and charges a lithium battery. The power supply is isolated from the starter battery. This charger is set up to isolate itself from the starter battery. I didn’t read carefully about the two wires that appeared to be optional. They’re described in the manual and one is required.When the charger wouldn’t charge and I read instructions more carefully, I discovered the unit required connection with one of those little wires to a power source only on when the ignition was on. I made a wire, plugged it in the appropriate slot (requires a very small blade screwdriver) and connected it to the already isolated positive power wire input to the charger. Started the engine and the battery said it was charging at 20 amps. Perfect! The second little wire allows you to charge at 10 amps.I’m adding rocker switches to these wires so I can turn them on or off easily. There is a warning about using this charger around flammable fumes so I want to easily turn it off when hauling fuel.
C**Y
Made with profit in mind. Failed on the 7th use. First camping trip
Update: 8/2020 I used this charger a few times testing it out on short trips around town and it seemed to work great.,however, the morning of my first ever camping trip it stopped working. Leaving my cropped the entire time. Nothing changed. All wiring is good. When I turn it on it does nothing. I used it to charge my bank about 6 times. Never even close to depleted maybe 15% most. I will never buy another Renogy product again. They are garbage. Second device to fail me from Renogy.I have realized that every product I purchased from reboot has on characteristic. They are made the cheapest way possible, with profit at the forefront of manufacturing. You might think all companies do this but no. Reliability and return business are also factors. This chargers connectors function but we’re a pain in the but to work with. I guess they were a step up from the cheap set screws lugs I had on the controller I returned but still cheaply made. As a graduate who has been taught to a read critically I felt their manuals main priority was legal protection for the company and the focus with three or four pages of warnings and cautions and barely a sentence explaining important installation information. Lazy writing that confused more than helped. I returned my Renogy river charge controller for an Epever and am so glad. If I could have afforded a better DCtoDC charger I would have avoided thus one too. As I will rarely need this charger I decided to buy the Renogy but with no faith that I will depend on it. Still keep getting mixed information about whether thus device will drain my battery a couple customers have said yes unless I installed an isolator but this makes no sense. Renogy basically said yes if I turn it on without starting the engine. I installed this using the ignition lead going to my stereo amp but then bypassed it with a dash switch before feeding the device so when ignition is on AND my toggle it would work... well see. I plan on waiting until I am at freeway speeds on the road before ever flipping it on. I’ll update after some use. I didn’t go with the isolator. Seemed too much. I’d might else well pull out jumper cables as use an isolator.
C**R
seems efficient
I installed these units to charge the 2x 600ah battery bank(s) shown above.My instalation draws power from a 250 amp engine alternator.The charging units have primary input and output hookups of solid metal with machine screws to secure the wires. They also have 2x additional wire inputs. One wire input activates the unit, it will not charge untill voltage is applied to the "D+" terminal. This allows it to fuction as a battery isolator relay, whereby it wont charge untill its told to by the activation wire. It also has a second activation wire for a 50% power mode. This knocks the charging amperage down to 30 amps, and I highly reccomend wireing this lead to a toggle switch.I installed 2x units and found that a 250 amp alternator cannot power more than one of these at idle engine speed. At highway speed and higher rpm, I can run both units at 60 amps. but at night time with all lights on in the RV, I can only run one at 60 amps and the other at 50% power without overdrawing the alternator.The installation instructions indicate that they "may draw upto" 90 amps, but upon installation i havnt seen more than 65 amps.I installed 2 of these units which is kinda crazy, i did it by isolating two battery banks with a giant diode array, in the form of a battery isolator diode set installed "upside down" on the negative terminal side. but take note that a 250 amp alternator can barely power both of them when tacked ontop of the other electrical load for the RV.Installing one unit with a common 130-150 amp alternator it would be advised to install the amperage reduction function to avoid overtaxing the alternator at low engine rpm.The units have internal cooling cans that SUCK AIR from the electrical input side, and EXPEL AIR on the electrical output side. This information is only apparent AFTER installation, so ill include it here.2 gauge cable worked fine.to install the activation leads, unscrew the tiny screw above the wiring opening, insert the wire, then tighten the screw. This information is not included in the instructions so i include it here.Since you will probibly wire the activation lead to turn the unit on whenever the engine is running, advise installing an interupt switch for that lead, or a giant battery disconnect switch for the voltage input as I did.
Trustpilot
3 weeks ago
1 month ago