

❄️ Quiet power, sleek style, and energy savings—comfort redefined for your modern lifestyle.
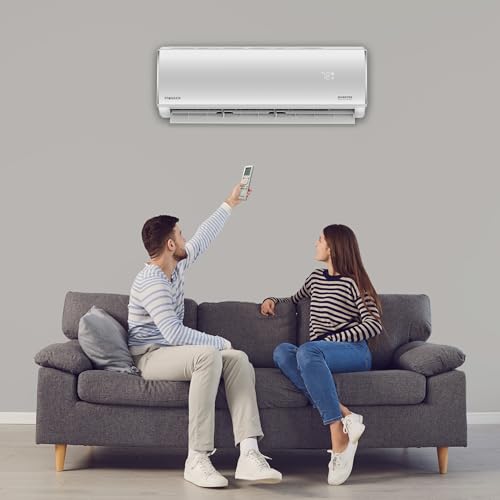
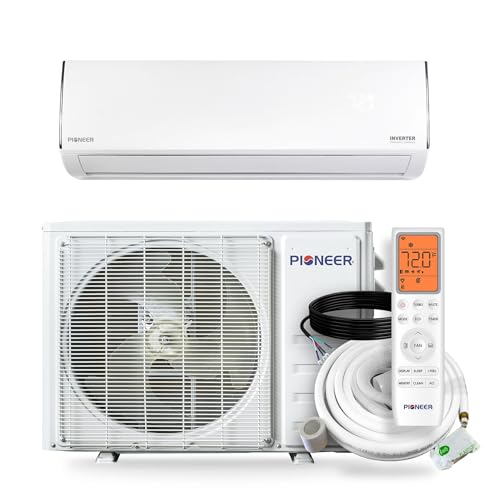
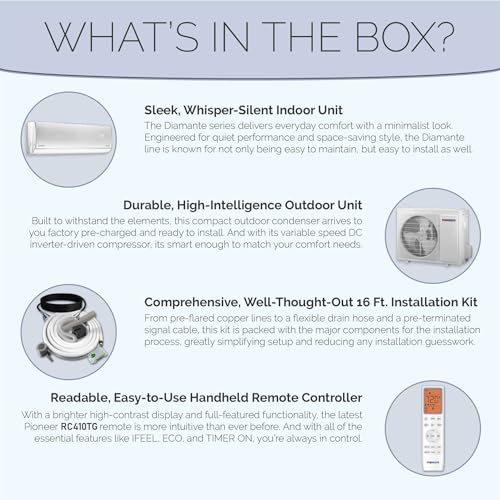
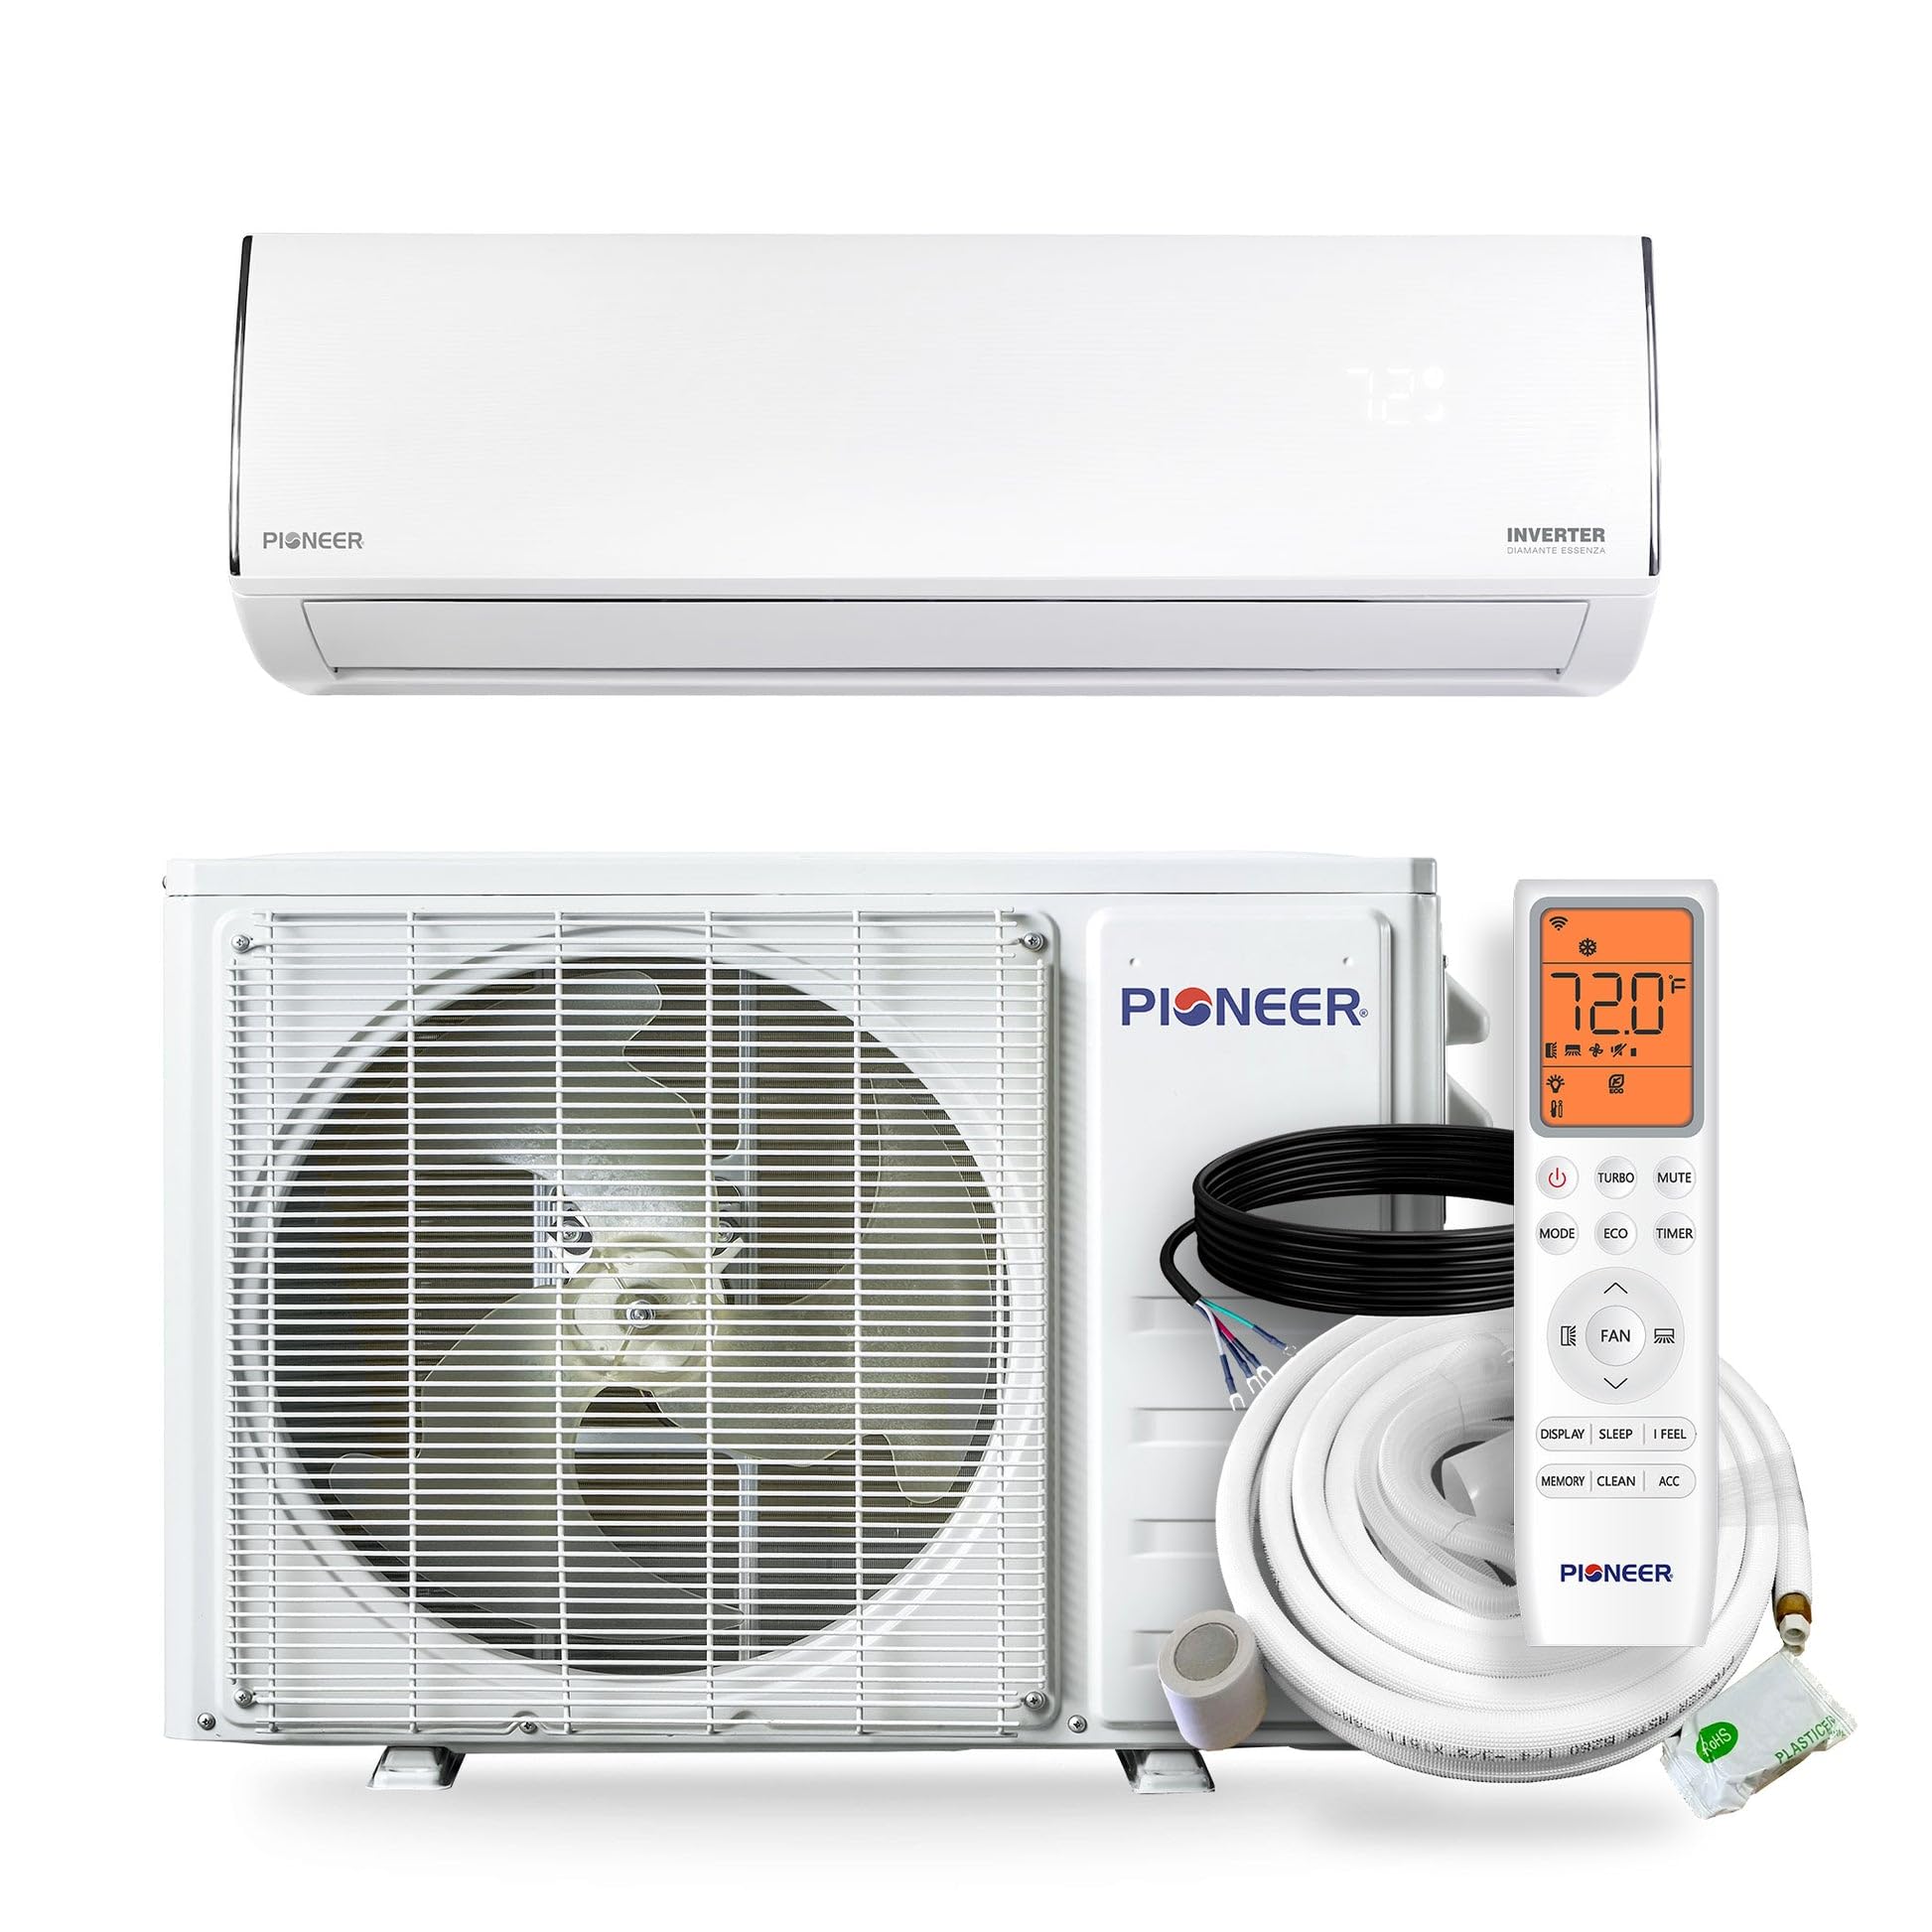
The Pioneer Diamante Essenza 11,500 BTU mini-split air conditioner and heat pump delivers year-round climate control with an impressive 17 SEER2 efficiency and whisper-quiet 29 dB operation. Its inverter technology ensures precise temperature management while reducing energy waste. Designed for easy installation, it comes factory-charged with a 16 ft. lineset kit and features a compact, minimalist high-wall indoor unit that fits seamlessly into any space. Ideal for bedrooms, home offices, and small living areas, this system offers reliable, silent comfort with remote control convenience.
| ASIN | B0FKCXP1GX |
| Annual Energy Consumption | 1180 Watt Hours |
| Batteries Included? | Yes |
| Batteries Required? | Yes |
| Battery Cell Type | Alkaline |
| Best Sellers Rank | #310,038 in Home & Kitchen ( See Top 100 in Home & Kitchen ) #34 in Split-System Air Conditioners |
| Brand Name | Pioneer |
| Capacity | 1 Tons |
| Color | White |
| Customer Reviews | 4.4 4.4 out of 5 stars (1,690) |
| Date First Available | July 29, 2025 |
| Efficiency | 17 SEER2, 9.5 EER2 |
| Form Factor | Mini-Split |
| Included Components | Installation Kit |
| Installation Type | Split System |
| Item Weight | 17 pounds |
| Item model number | WYT012ALUI17RL |
| Model Info | WYT012ALUI17RL |
| Noise | 29 Decibels |
| Part Number | WYT012ALUI17RL |
| Product Dimensions | 7.88 x 30.5 x 9.75 inches |
| Special Features | 4 Way Swing, Inverter Compressor, Remote Controlled, Silent Mode, Sleep Mode |
| Voltage | 115 Volts |
| Wattage | 1180 watts |
S**.
Excellent mini split, quiet, works well.
Quick shipping from Jacks Small Engine, no damage to cartons. Two boxes as usual with mini splits, very well packed by Pioneer. Only minor glitch was I ordered a 240V unit and got a 110V unit. ALWAYS double check the labels, it would have been bad news to connect a 240 V supply to this unit. Easy enough to sort in the breaker panel (this is a shop building), just pulled the ganged 240 breaker, dropped in a single breaker and blanking plate, connected the now open wire to the neutral bus. Easy Peasy. I didn't care, but suspect they would have had the unit picked up and replaced quickly. We had bad weather coming in and this was to replace a failed Mr Cool unit. Once the spring rains start around here the ground is muck for a month or two, so wanted to get the job done while the sun was shining. Pioneer includes some interesting line set gaskets and a sealant that looks very much like Nylog Blue. The line set and flare nuts are very good, I shortened the line set by about 2 feet and the lines cut cleanly and flared very nicely using a good quality offset cone flaring tool and a film of nylog on the flaring cone as lubricant. These units take several minutes of running the outside unit before the inside fans turn on, a bit longer than the Mr Cool units I have in several other buildings. Started to get that sinking feeling on the first heating run, then the inside kicked on and all was well. Once the heat comes on, it's nice and warm. When the next mini split needs replacement or a friend asks what to get the Pioneer unit is very nice for a quite low price. I waited around 3 weeks before writing this and the shop building has been held at 66F the entire time, 70F when I'm working in it. The remote will probably have you scratching your head, the info IS in the manual, but it's all pictograms for modes, the tiny little image that looks like a sun (sort of) is the heat mode. Have to give Mr Cool the point on remote clarity. Maybe I'm just set in my ways but "HEAT" is far easier to figure out the meaning of than a 6X6 pixel image of a vaguely sun like image. I'll get used to it, no harm, no foul.
C**E
Very Happy so far! 12000 BTU
Read the instructions twice and started the install! Everything went smoothly. I paid an electrician to install the 15 amp breaker and an outdoor disconnect. The cost for the master electrician was $300. I installed the whip from the disconnect to the unit and called an HVAC specialist to vacuum out my lines. The cost was $150 and he also opened the valves and checked for leaks. I then installed the outdoor line cover, nice clean look! I installed it in early October so I haven’t really used the AC portion, but the heat pump has been running ever since I installed it and is keeping our bedroom and the back of the house 74° it has been from the 50s all the way down to 20° outside and has worked flawlessly! I plan to install a 24,000 BTU unit in the spring for the other end of the house, kitchen living room, etc. The remote control is nice! The unit is very quiet and I am very anxious to see how it does this summer! This can easily be installed by someone who can read and comprehend and has at least intermediate skills. Installing the inside unit would be a little easier with a second person., but I did it by myself no problem! A good friend of mine recommended this to me. He had the same unit and it performed flawlessly for 10 years before he had to replace the outdoor unit.. he also told me that it dropped his electric bill substantially! This is the main reason I went with a mini split and plan to install the 24,000 BTU in the spring. Both units combined will be less than 35 A compared to my 60 amp central unit. The inside portion of the unit is DC and runs all the time the fan kicks up and the oscillator starts when it is actually heating or cooling so there is always air circulating in the room, which is nice!
A**B
Easy install, there is an excellent youtube video that shows how to install it.
Let me start by saying that this mini split has truly exceeded my expectations in every aspect. Simple Installation: The installation process was a breeze, especially with the help of a YouTube video guide. Following the steps provided, I found it surprisingly easy to set up. The clear instructions and straightforward components made the process much smoother than I anticipated. Flawless Performance: Since the installation, the mini split has been performing flawlessly. It cools my garage efficiently and maintains a consistent temperature. The cooling and heating modes work like a charm, ensuring that I'm comfortable year-round without any hiccups. Vacuum Pump Success: I took the extra step of investing in a $100 vacuum pump, and I'm glad I did. Pulling down a vacuum on the system was a seamless process, without any complications. The mini split held the vacuum without any issues, which speaks to its quality and durability. Access Line Challenge: The most challenging part of the installation was drilling the 3-inch hole for the access lines. However, I realized that this would likely be the case with any mini split installation. It's a necessary step that requires patience and a strong drill.
Trustpilot
4 days ago
2 weeks ago


